Sunday, 24 June 2018

Some works in progress....

Quick catch up (ignoring the 50 odd miniatures I've yet to photograph). Here's current works in progress in various states of completion.

These are (mostly) experiments in trying out different mediums and techniques. I'm quite enjoying them because I only need a few minutes at a time to do each next step then I leave them to dry for a day.

They are:
  • Hedge with heather effect
  • Pile of rocks with plant growth
  • Mystical monolith
  • Lamp post on a hill
I'm avoiding painting miniatures at the moment as finding it difficult to get more than ten minutes peace at a time but that works out fine for scenery.


Friday, 4 August 2017

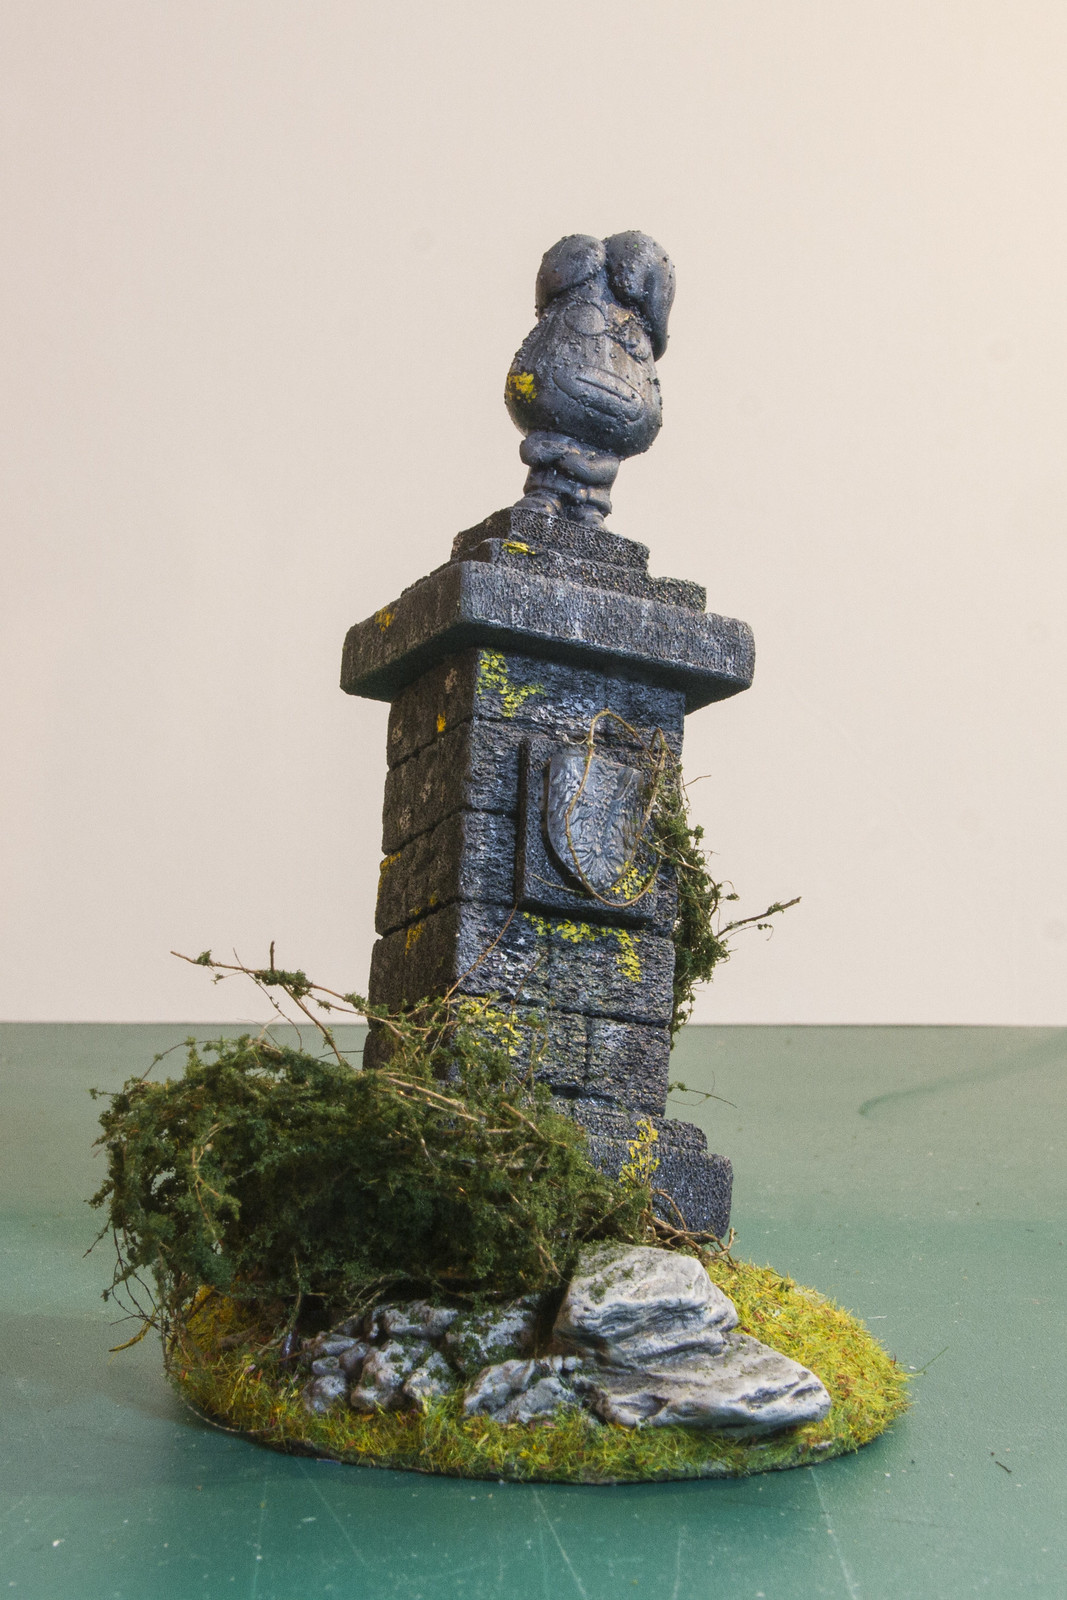
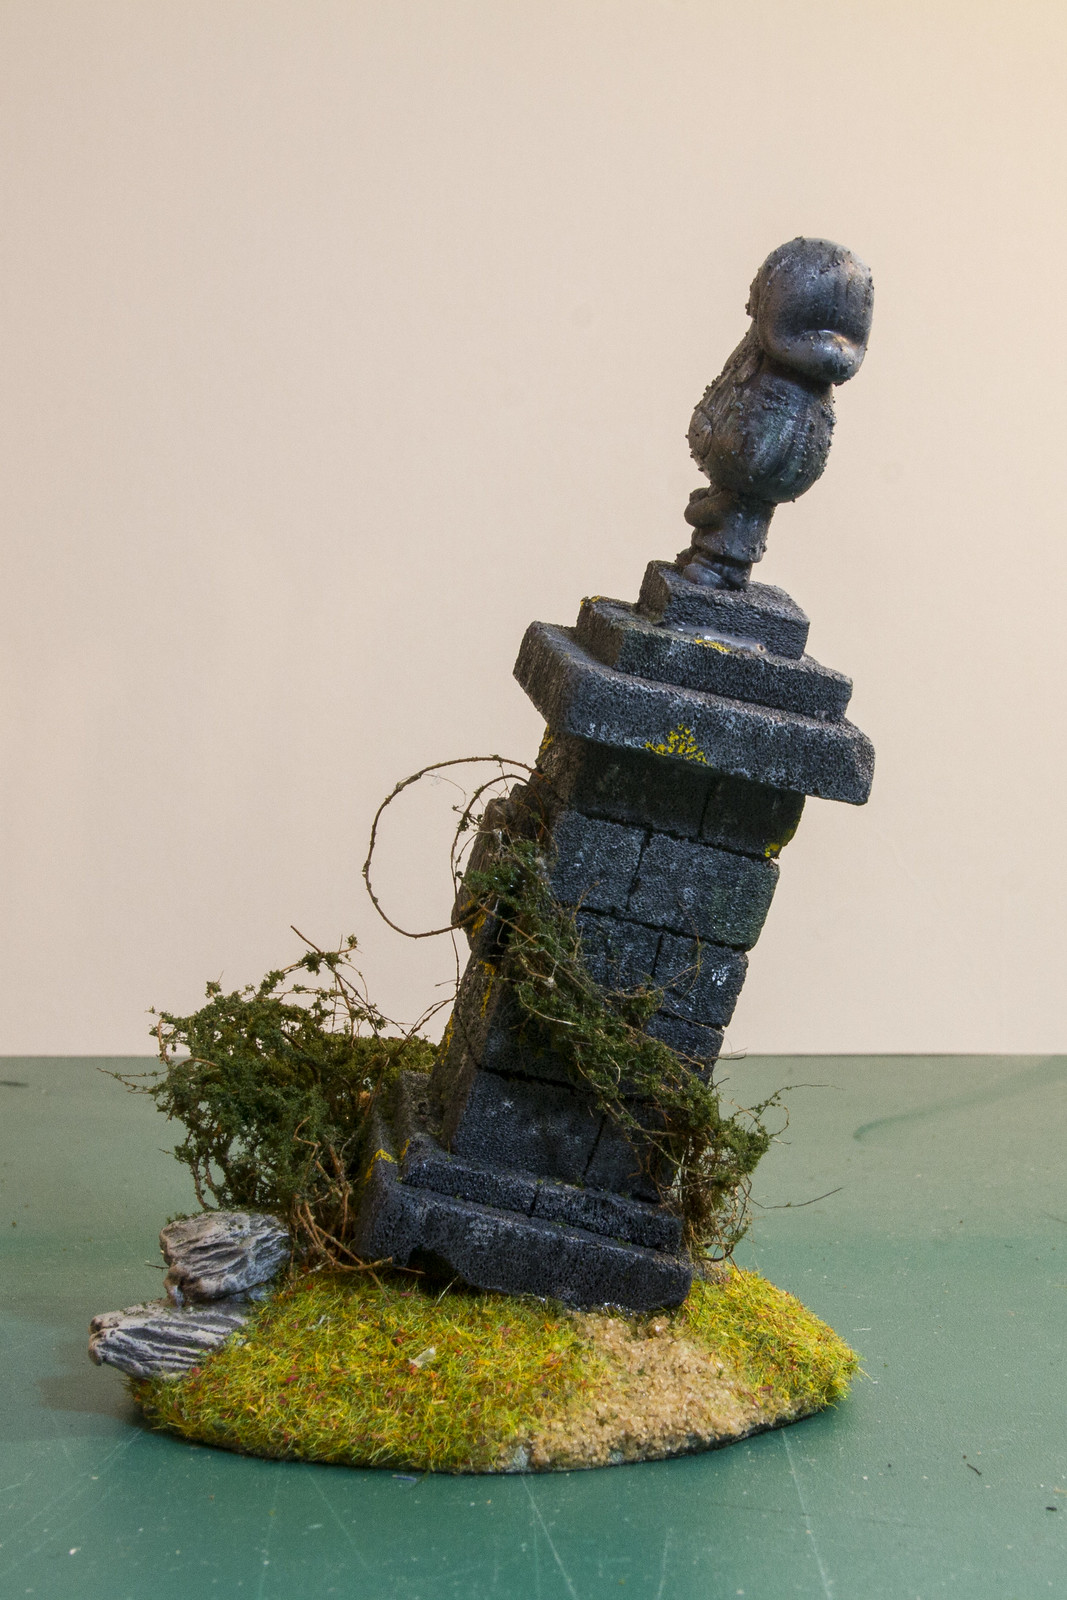
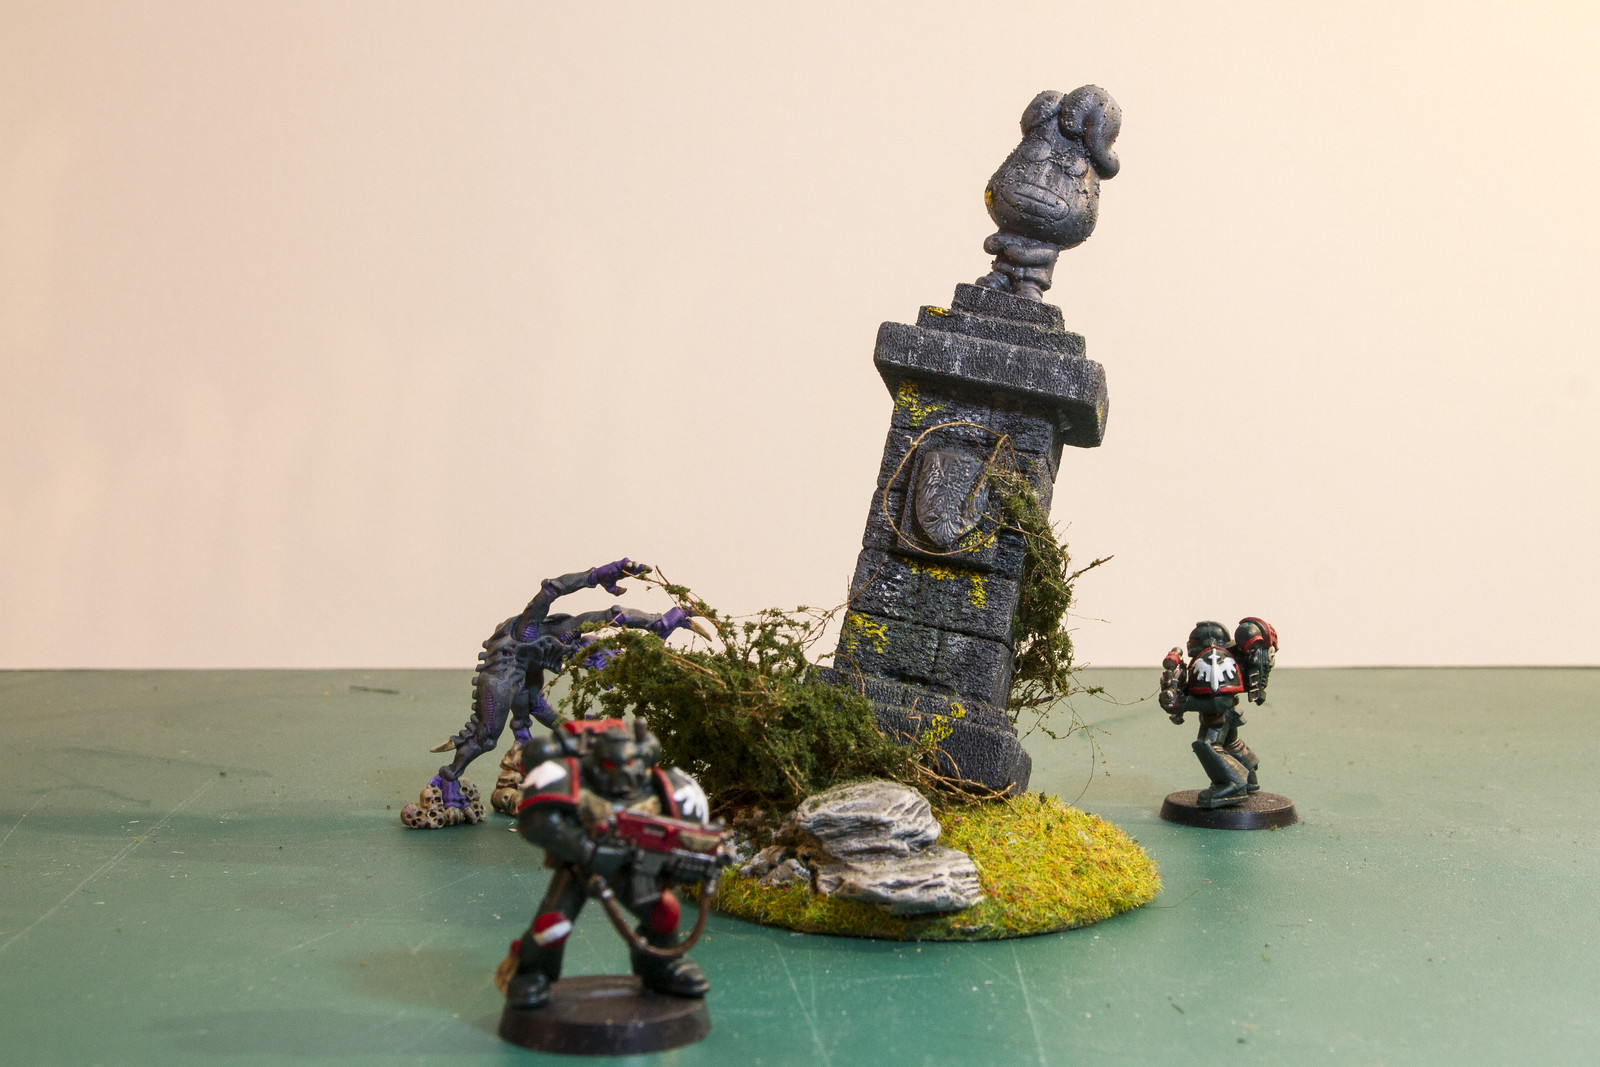
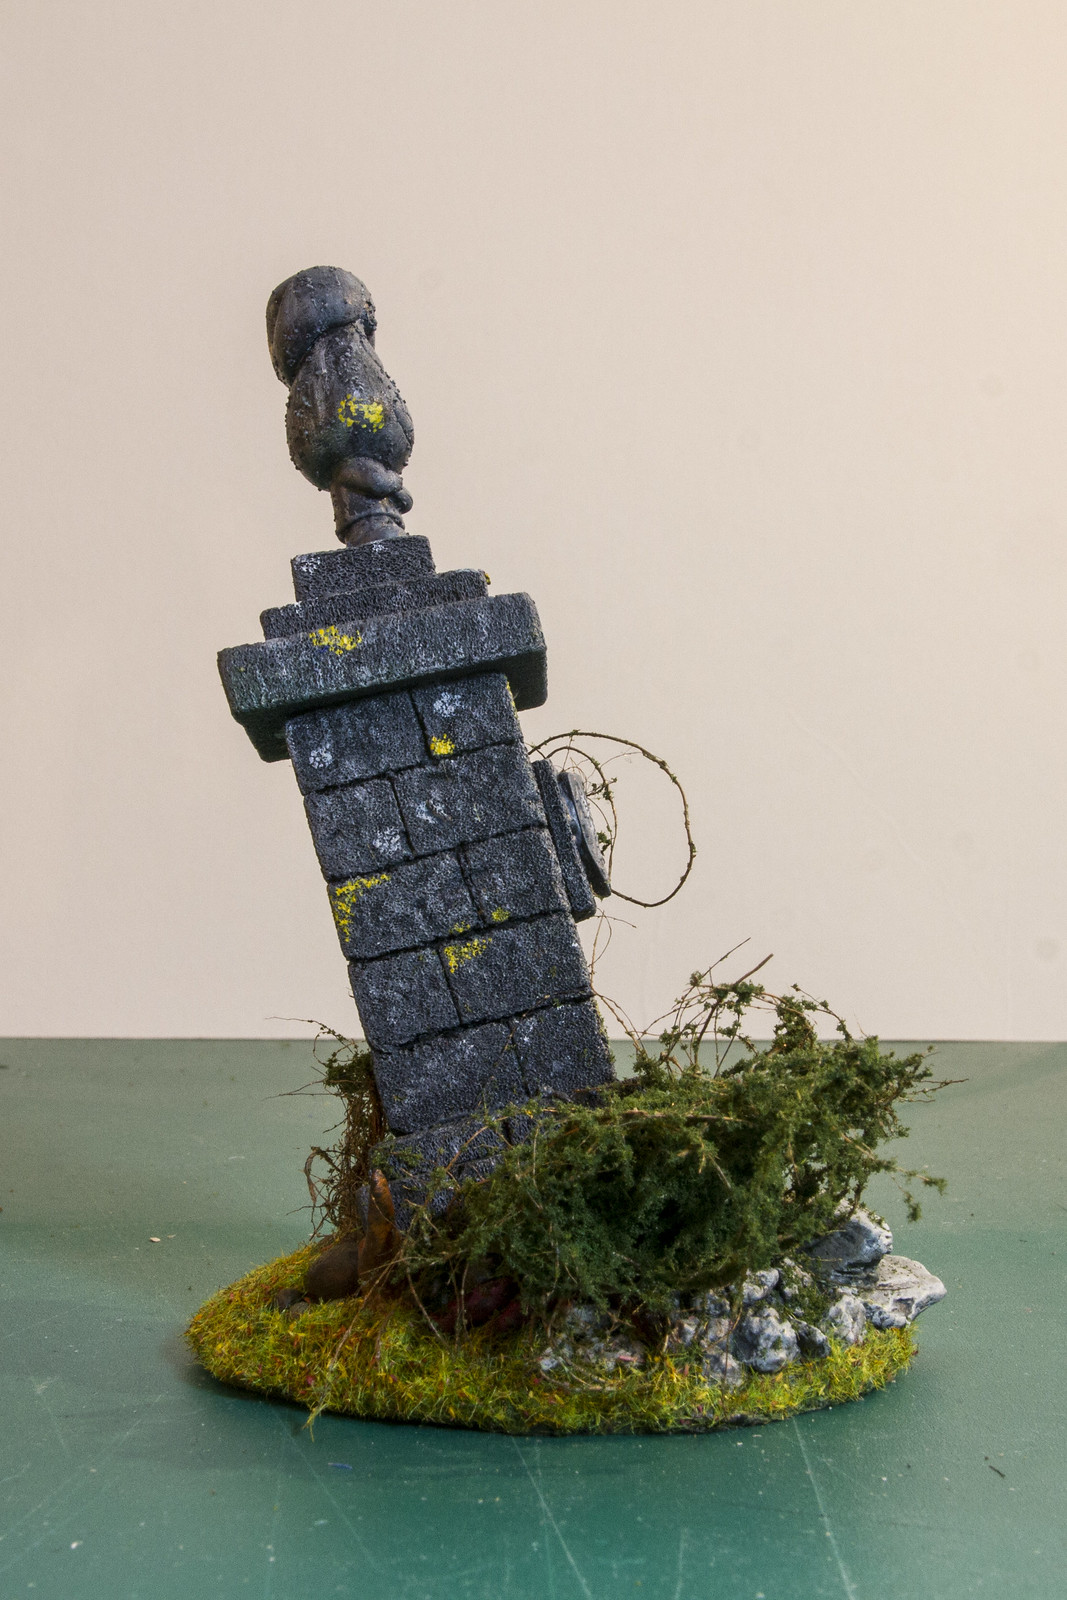
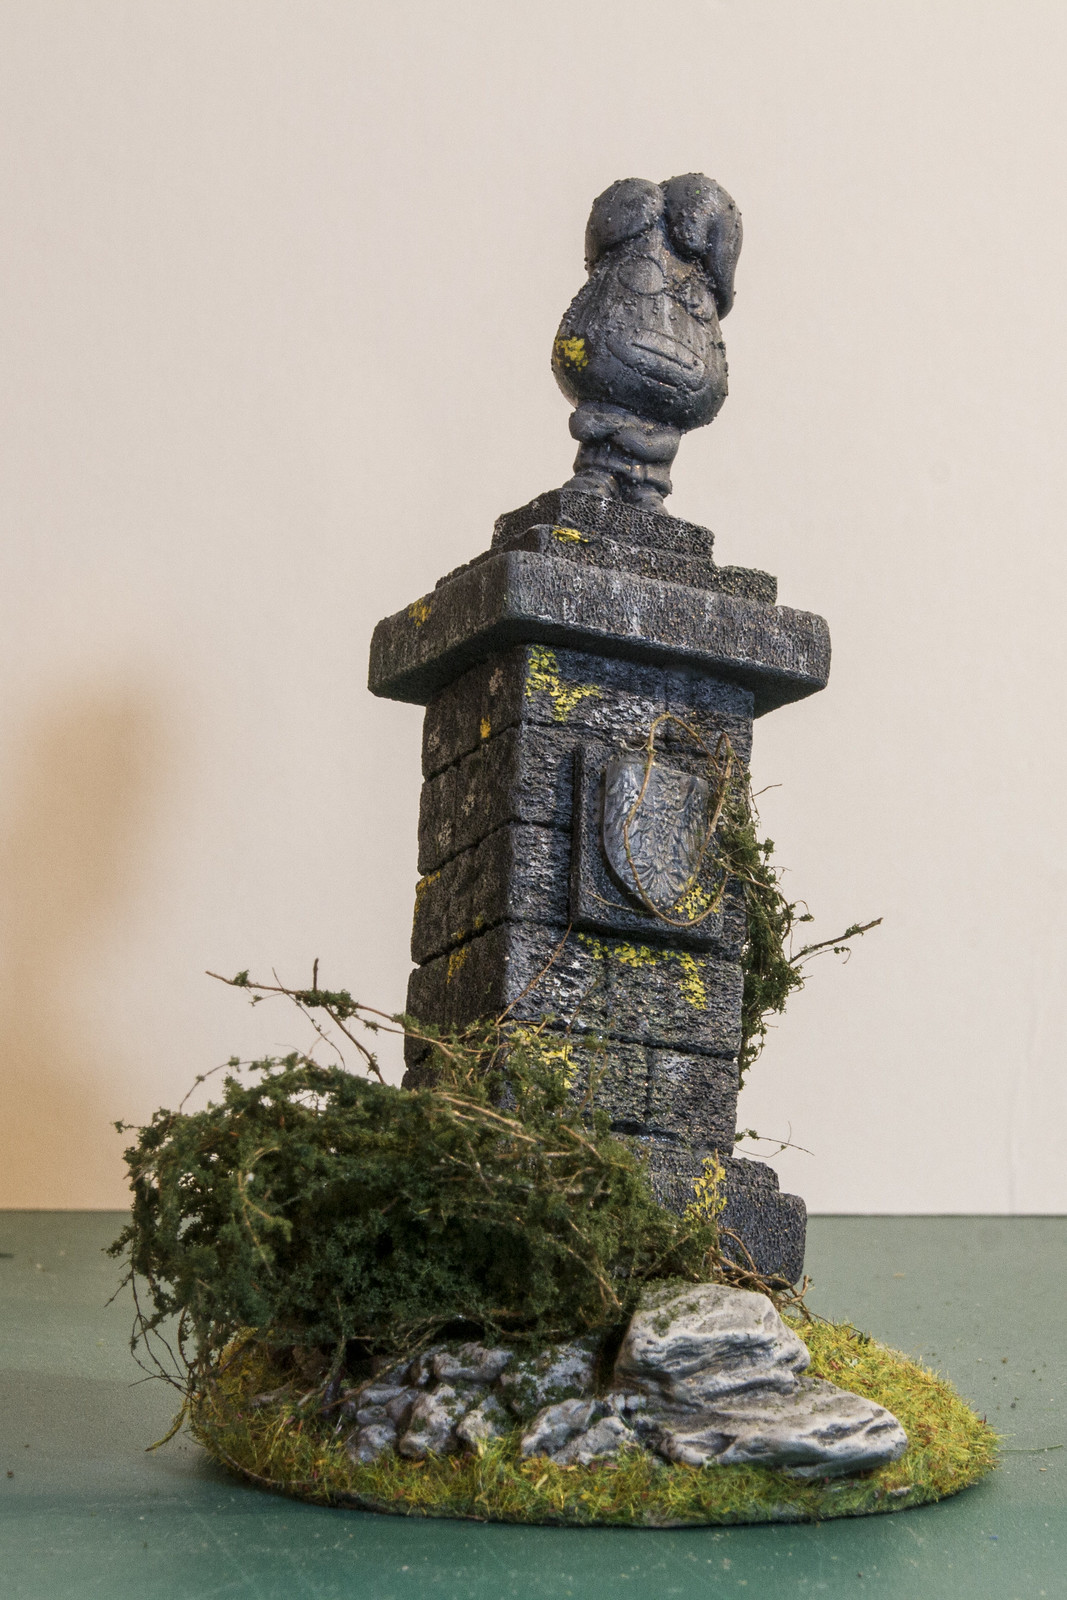
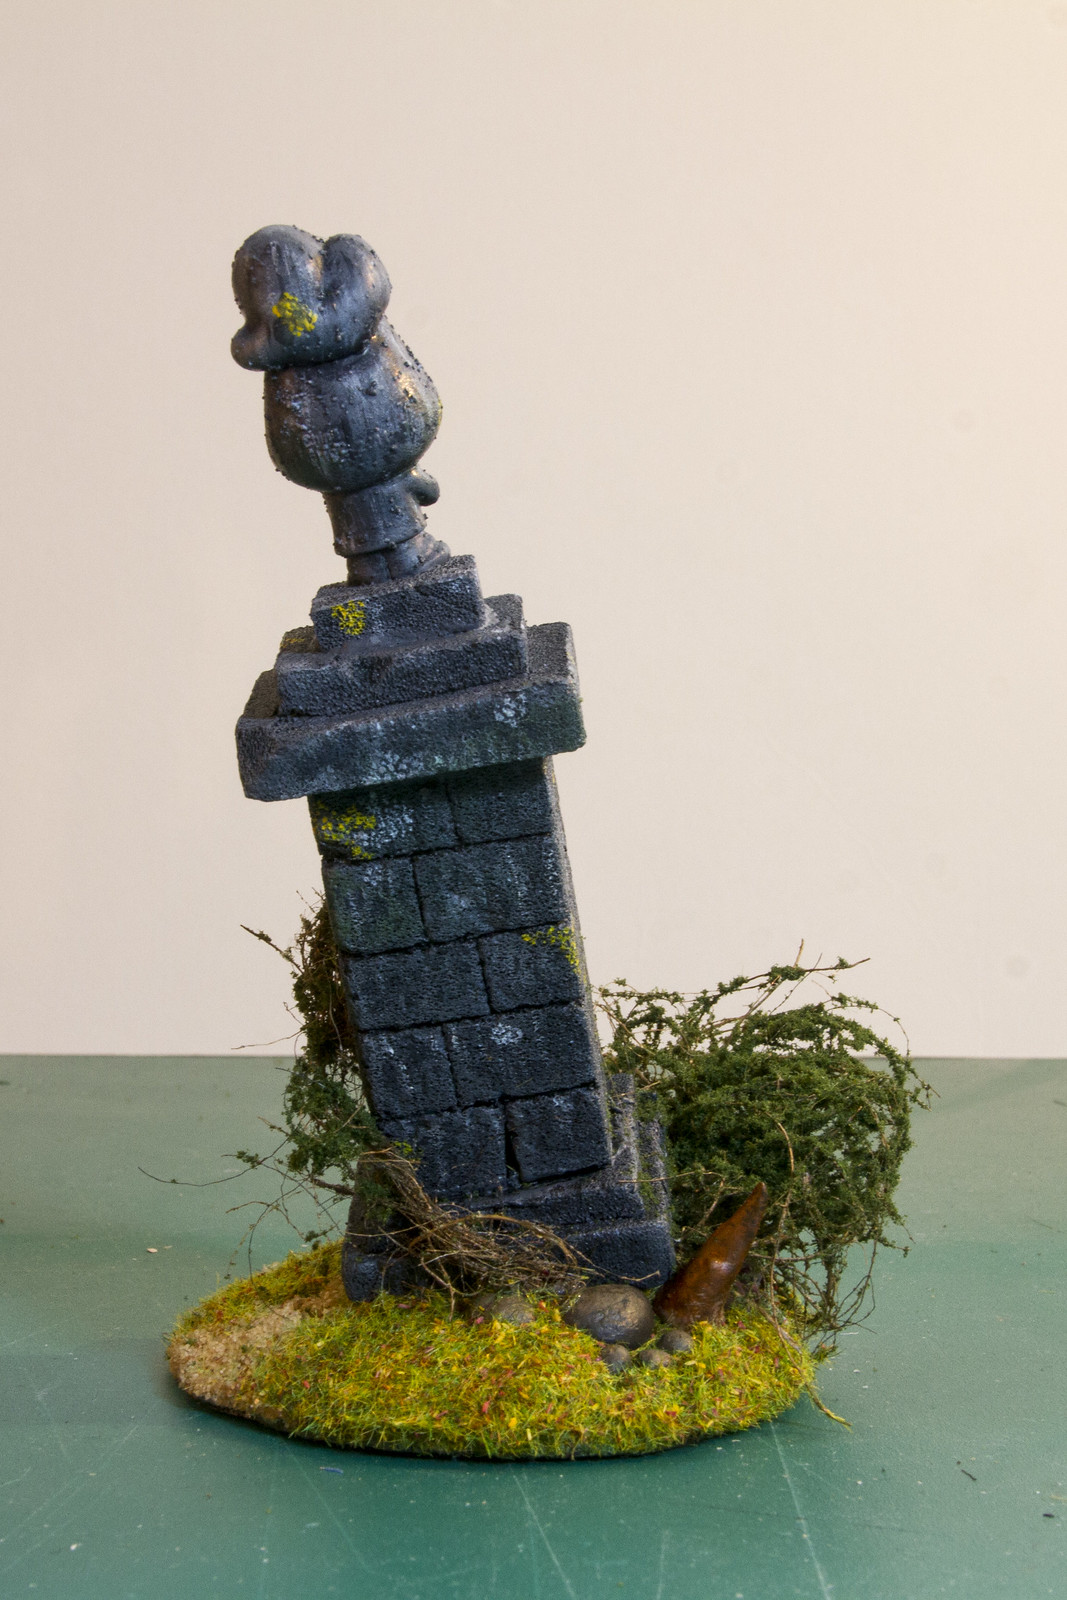
Forgotten Dictator Stands Alone

WELL. I started writing this in about April 2016, so I have inevitably forgotten what I was going to write, or very much about how I made it, aside from that it took me months (again through doing ten minutes as and when I got the chance). Sadly I thought I had only finished it a couple of months back, but it was clearly well over a year ago. I have not finished much since then.

It's a toppled statue on a pillar of a forgotten dictator for use in the games of Warhammer 40K which we still have not got round to playing. The pillar was made of blue Styrofoam which I cut and scored with a craft knife in several pieces then skewered on a bamboo skewer to give a bit more strength. The base is some 3mm mdf sheeting I hacked up with a knife (I've since learned the benefit of using a jigsaw). The figure on top is a Moshi Monster I happen to own because I own far too much tat.

I really struggled with the rubberised horsehair which the large bush growing out from under the statue is made of but I'm actually quite happy with how it looks now. I'm less happy with the two mushrooms, which you may be able to just make out (Super Sculpey) whose shape is fine but colour went a little up the wonk.

The shield is of course and old Warhammer Fantasy Battle shield from the bottom of my box of tat.

I'm really happy with the streaks of bird poo and lichen.

I would like to make some notes on how I put it all together, but I can't remember!

Until next year....

Flickr set for model making here.

Statue for Warhammer Fantasy Battle Statue for Warhammer Fantasy Battle Statue for Warhammer Fantasy Battle Statue for Warhammer Fantasy Battle Statue for Warhammer Fantasy Battle Statue for Warhammer Fantasy Battle

Sunday, 24 April 2016

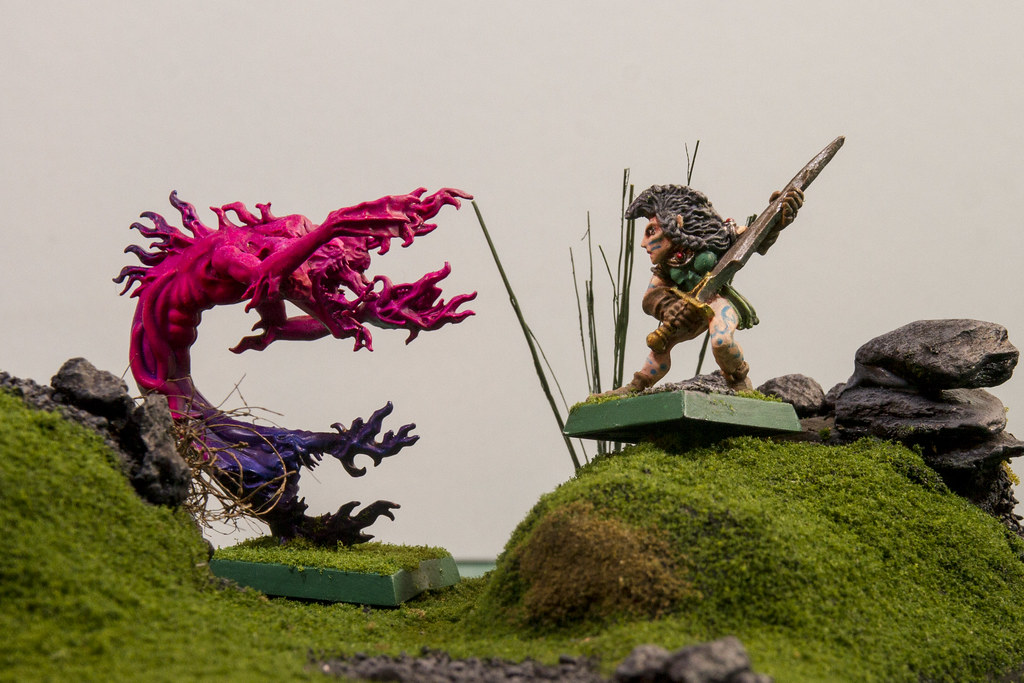
The hill of awkward placement

I've actually pretty much finished off a whole bunch of scenery bits at the same time, mostly through working on them for five to ten minutes at a time whenever I get a bit of peace. I'll put them all up over the next few weeks as and when I get a bit of peace. They have taken months (about six) although no idea how long each one actually took due to never really working on anything for any real stretch of time.

I may have to take a break from scenery building for a while for a couple of reasons. Firstly because I'd like to actually paint some miniatures and the scenery building takes all the time, secondly we are short of space and scenery takes up loads.

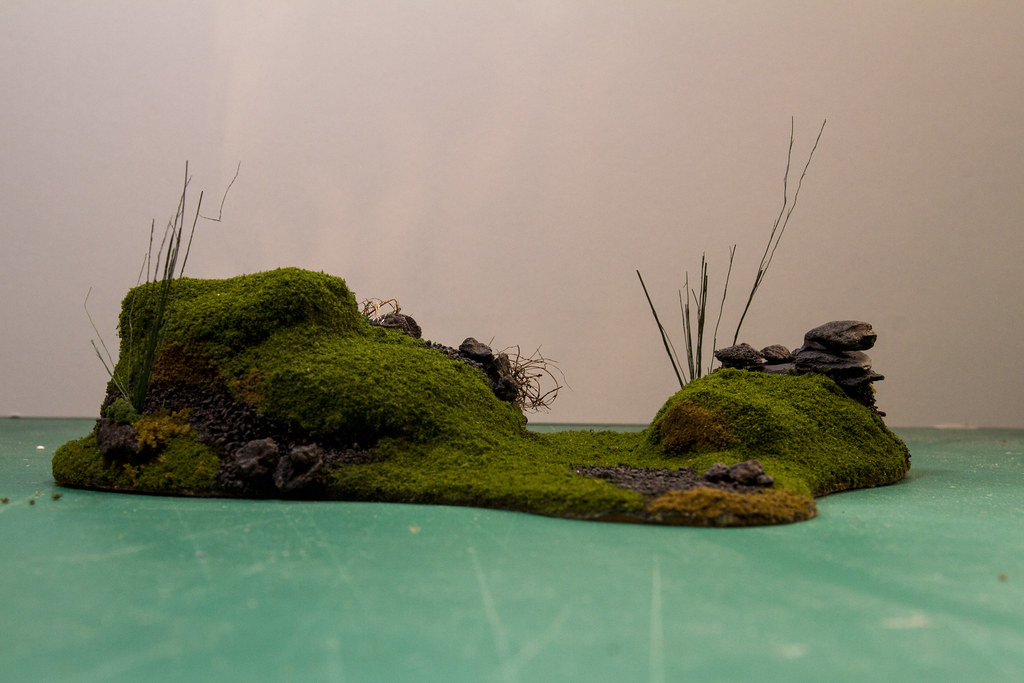
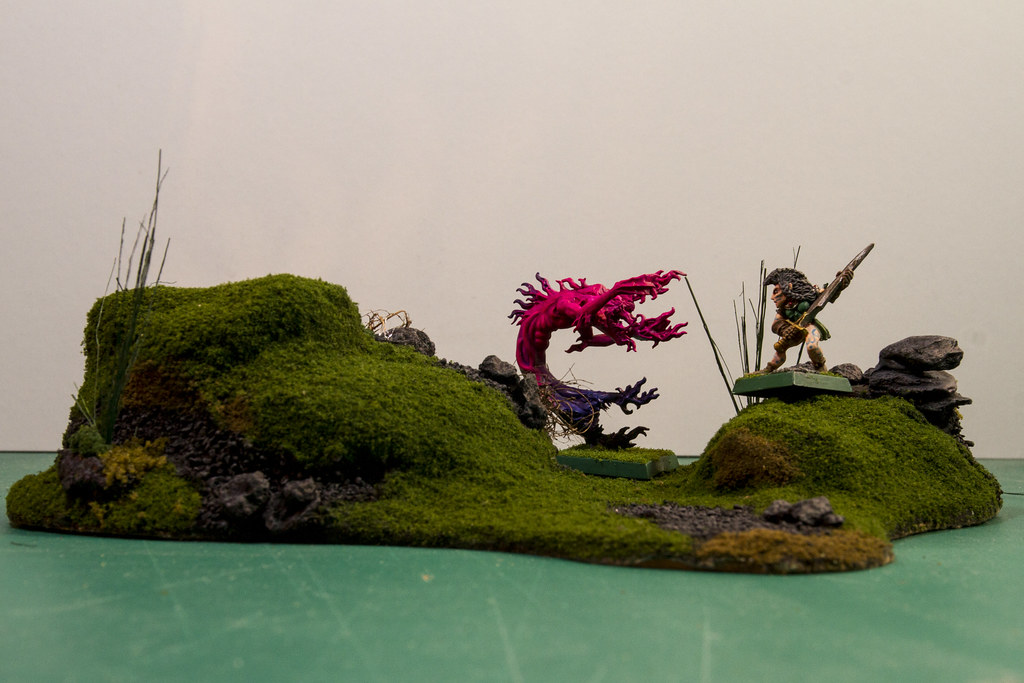
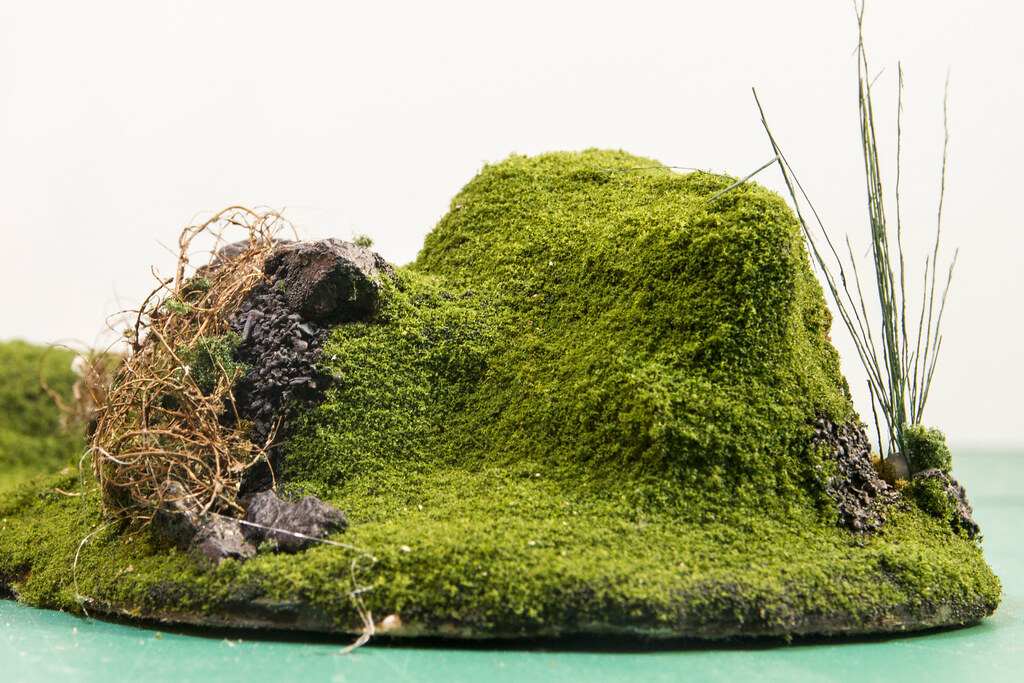
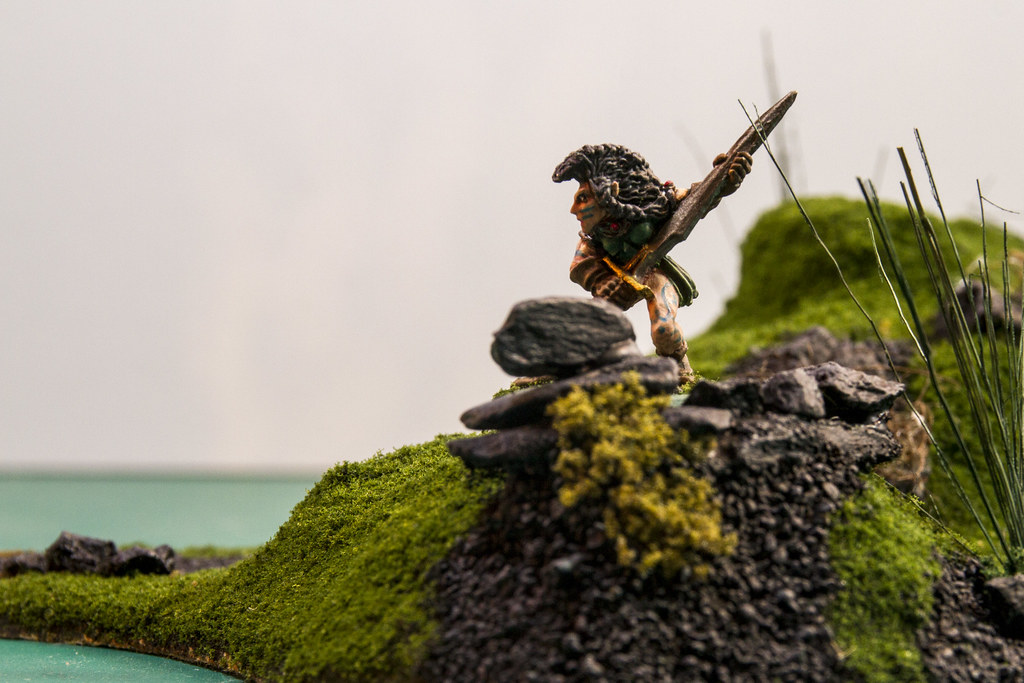
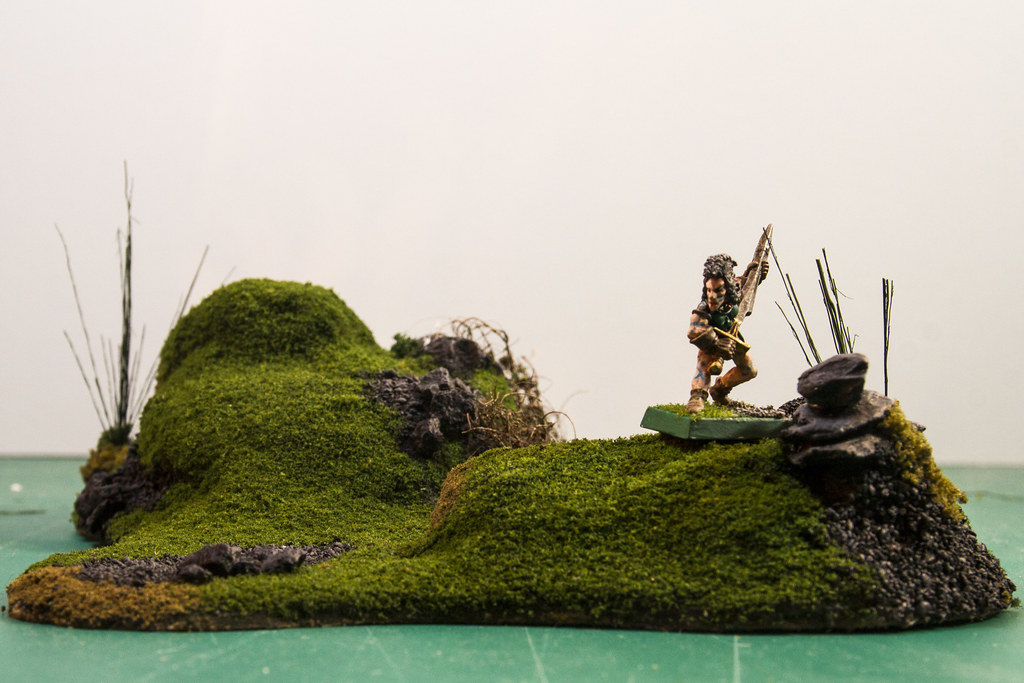
First. The hill. A classic requirement of most fantasy battle. I found a nice online tutorial, which annoyingly no longer appears to be online (I can' find it anyway), which differed a bit from the traditional stepped designs aiming for something a little more realistic. Unfortunately (ignoring advice in the article) I once again failed to plan ahead properly and although the final result looks ok it's a bit awkward to actually use, there's no real surfaces on it that troops can stand on. It's ok for character models and acceptable for 40K but otherwise it just acts as cover.

I pretty much made it up as I went along (again) which is something I will not be repeating.

I did remember to give it a proper MDF base this time so it didn't warp horribly when I glued stuff to it. The hill itself is made of random offcuts of polystyrene, bits of left over DAS clay and mostly shaped modelling styrofoam. The styrofoam is really nice to work with, I paid just over a tenner for a huge sheet of it which will last me years.

The basic shape was liberally coated with Polyfilla then left to dry for a century (it was quite thick). The rocky outcrops and path (not so visible as I forgot to take a photo from above) are made of a handful of bits of slate from a massive sack I bought in a garden centre last year and some sand stolen from my child's sandpit.

The whole thing was undercoated with Chaos Black primer (the polyfilla protected the styrofoam from being melted). I had a bit of a nightmare working out what order to do stuff in, unfortunately I've now forgotten what order I did stuff in! I have now purchased a notebook specifically to keep notes on what order I do things in, I may remember to use it.

I wanted to try out Scenic Cement on the flock. I'd been a bit wary as it seemed a lot of cash for what I guessed was just watered down PVA but it's really good stuff, it's far stickier than watered down PVA and dries pretty quickly. I used a coat of Scenic Cement followed by flock. When that had dried I applied scenic cement again and flock again, then when that had dried the cement again as a fixative which worked pretty well. I did get the special sprayer to go with the cement which works ok but after a few uses it started to dribble and give an inconsistent spray, this may have been down to my cleaning technique being a bit arse. I found some cheap perfume atomizers in a local hardware store which worked just as well (and were far cheaper), although how long they will last is another issue.

The long reeds (which look a bit tatty now) are Skale Scenics Grass, previously I was using the bristles off a cheap decorating brush, this is basically exactly the same thing but cheaper and you don't have to hack paintbrushes to pieces to achieve the effect. They were a pain to attach and I tried a few methods, in the end I found Pritt Stick Clear All purpose adhesive to be AMAZING, it's quite thick and although it takes a while to dry it affixes really well. Annoyingly I can't find it online and cannot remember where I bought it from.

I wanted to create some scrubby winter shrubs around the rocky parts so tried out rubberised horsehair, again I paid a couple of quid for a massive bag which is going to last me an age. I really struggled with it at first and didn't really get the hang of it for this piece (it worked better on a later piece), it needs a bit of treatment before it can be used, aside from anything else it turned up a really garish almost fluorescent green. I really struggled with getting scatter materials to affix to it (which again I managed better on a later piece) and eventually gave up, it looks ok. I also applied a few light patches of Woodland Scenics ground cover which I could have colour matched a bit better.

I was planning on putting a lot more detail in but decided against as had already spent far too long on it and just wanted to get it done in the end and move onto the next piece which will be along soon...

Flickr set for model making here.
Model Hill for Fantasy Wargaming Model Hill for Fantasy Wargaming Model Hill for Fantasy Wargaming Model Hill for Fantasy Wargaming Model Hill for Fantasy Wargaming Model Hill for Fantasy Wargaming

Friday, 16 October 2015

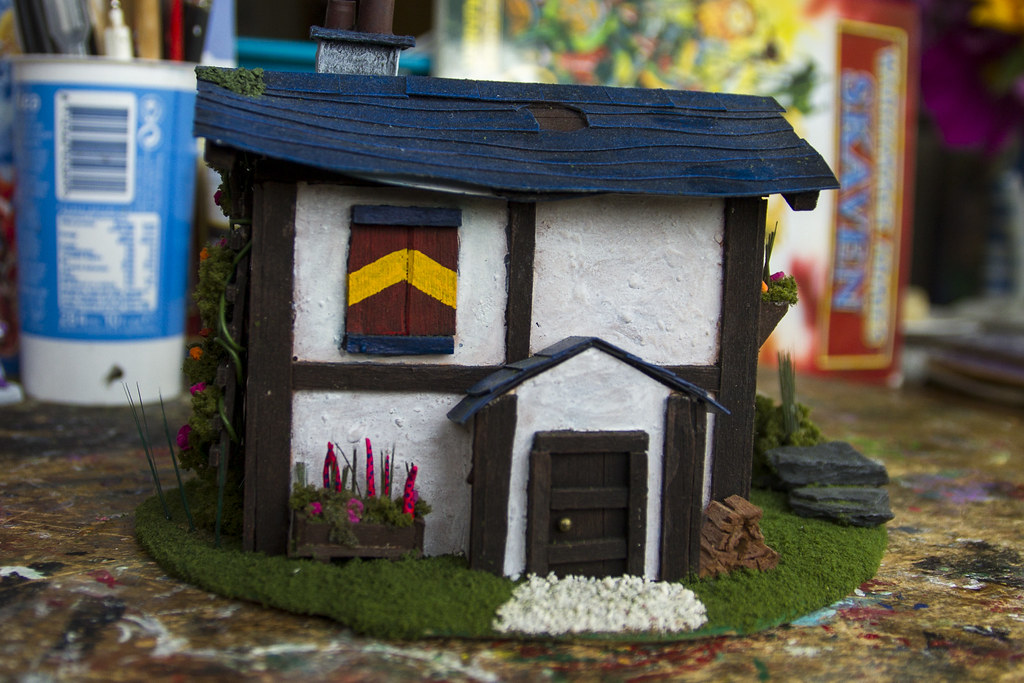
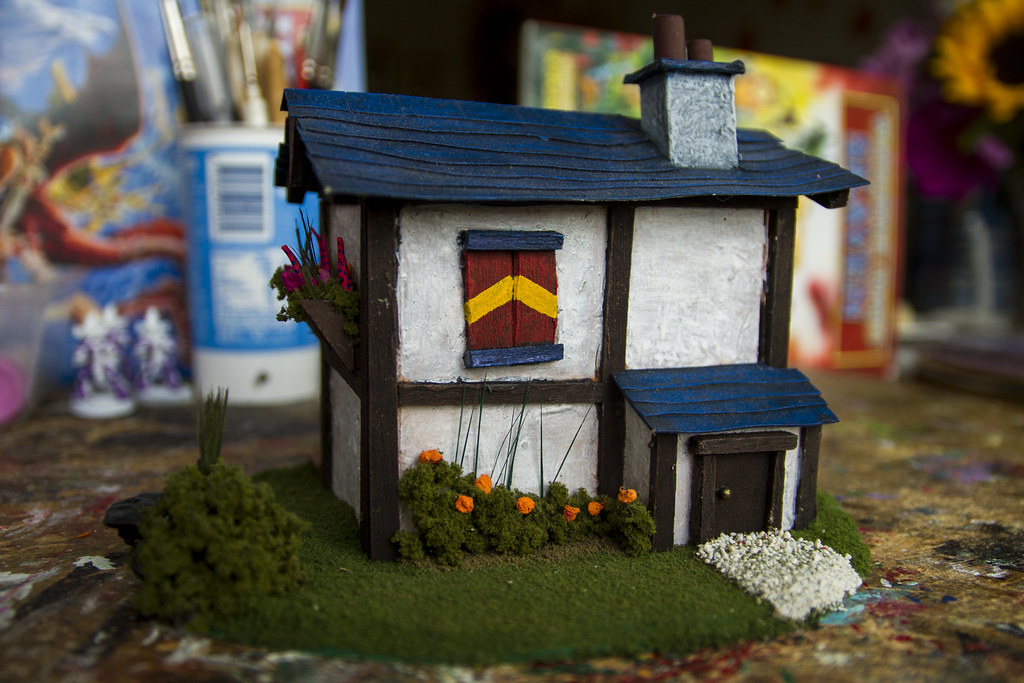
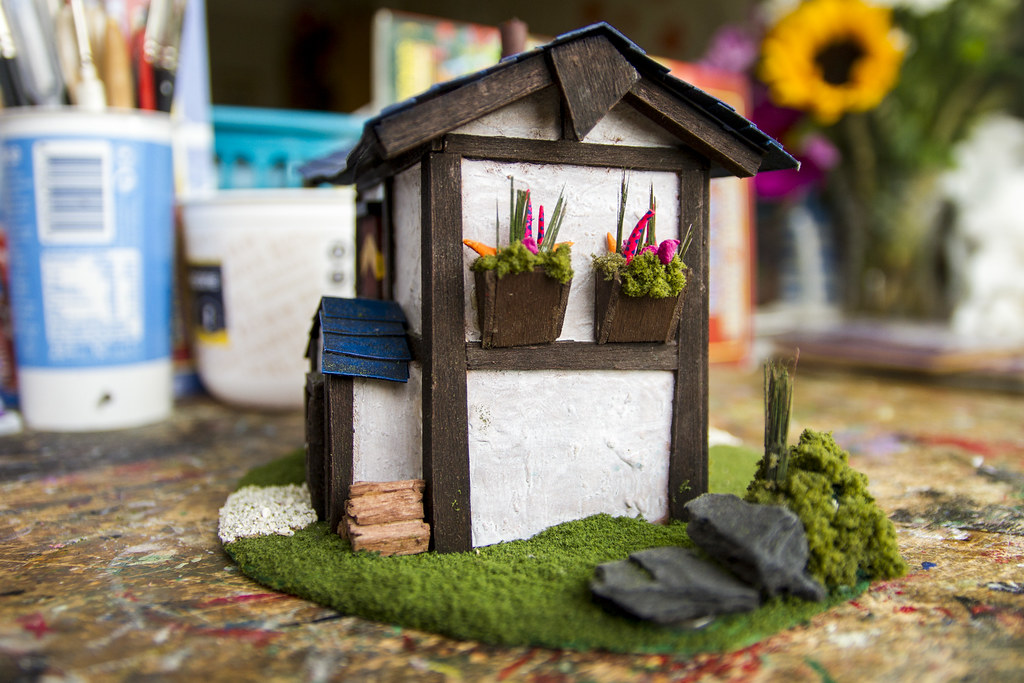
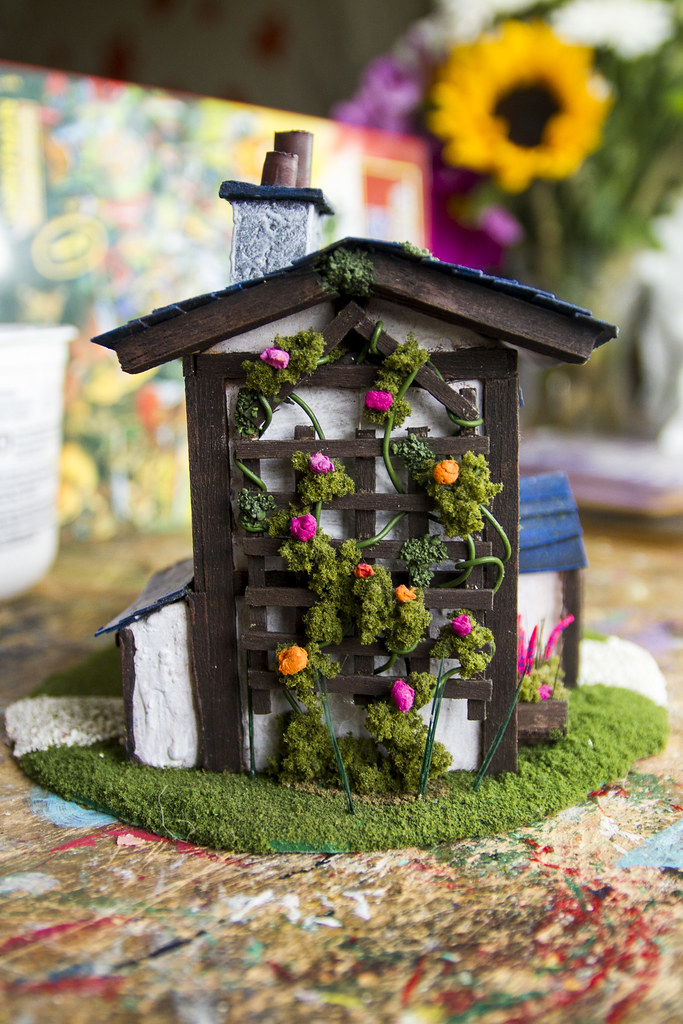
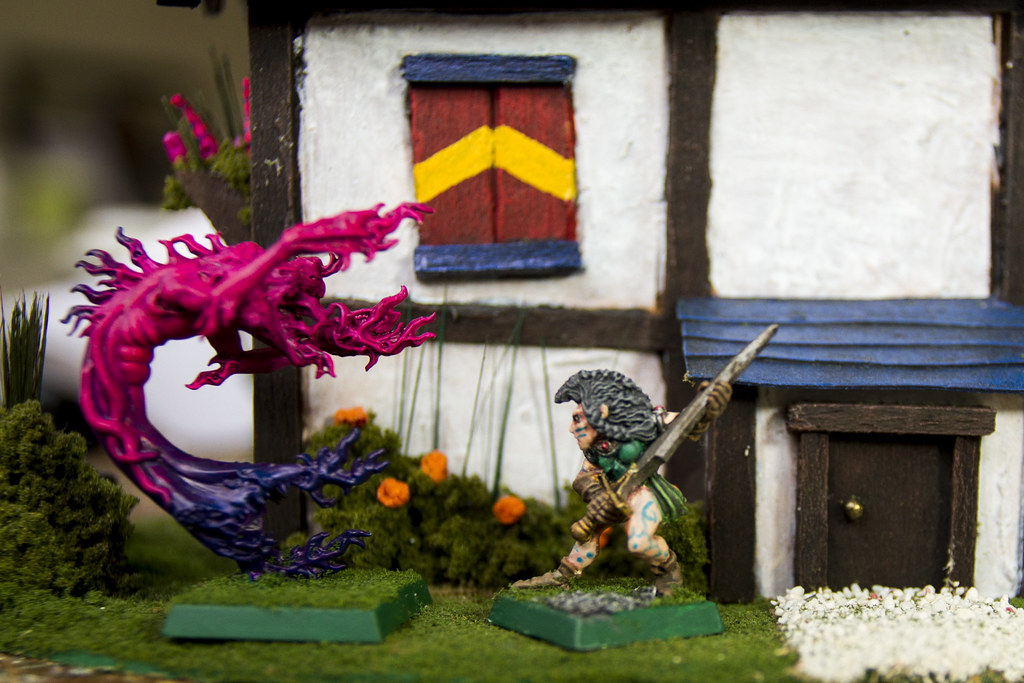
I built a house

This took a while. About six months. Ok, it didn’t take that long, it was probably a few hours but they were stretched over about six months of finding 20 minutes here and there to do little bits and pieces. Unfortunately I hadn’t learned to make notes as I went along (something I’m now doing) so would regularly forget what I had intended to do with it.

I started out by following another tutorial in an old White Dwarf along with some tips in a book my brother bought me for christmas (which I will write about at some point) but deviated fairly heavily fairly quickly.

I managed to not make the same mistake with the base that I had done with the barn previously and used a sheet of MDF cut up with a craft knife. For the record you can cut an oval out of MDF with a craft knife but it’s a massive pain in the arse; I need a workspace that is not our dining table. I did make the same mistake with the roof (lightweight cardboard). It warped and pushed the balsa wood out of alignment, but I’m going to claim it was a deliberate effect, it is after all supposed to be a tumble down cottage.

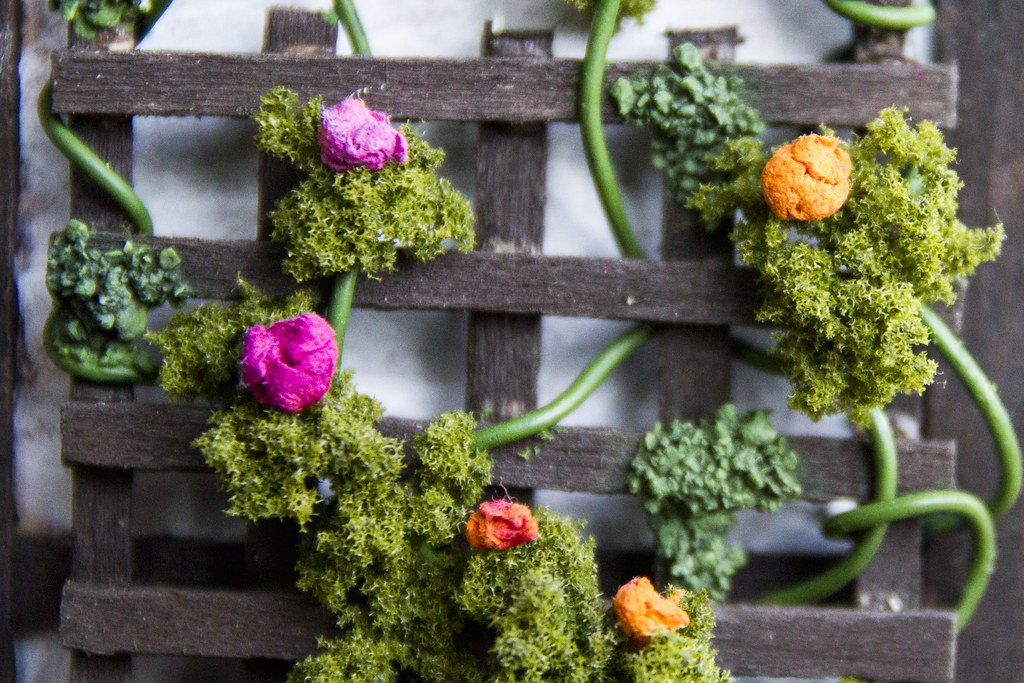
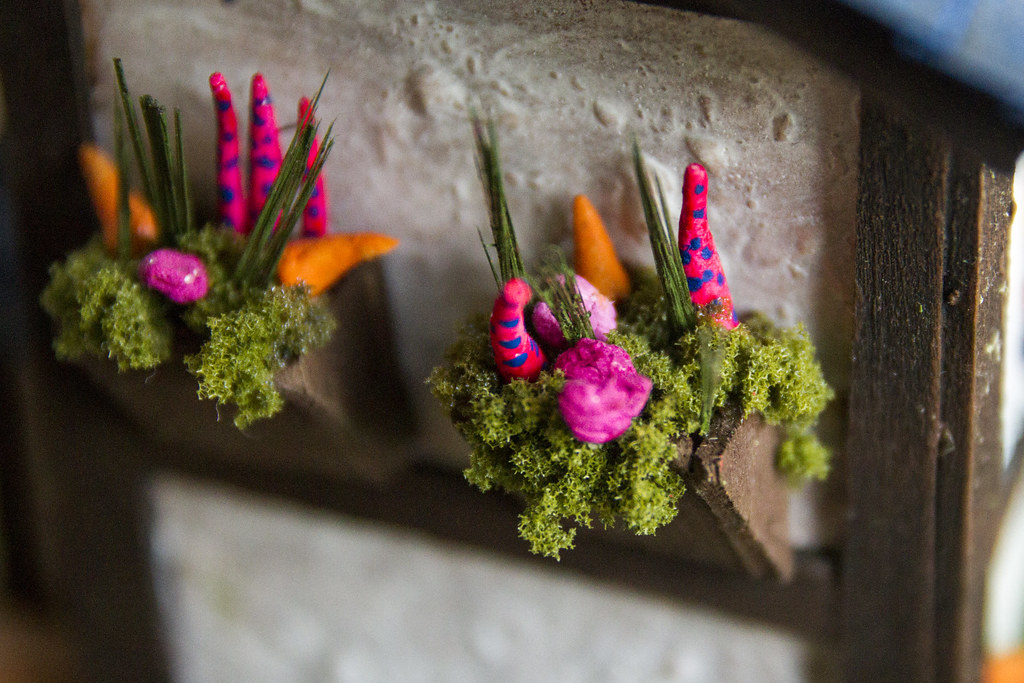
I may have gone overboard with the floral decorations. The roses are made from crumpled tissue paper dipped in watered down acrylic paint, the pointy alien plants are made of modelling clay, the long grass was made by trimming a cheap paintbrush.

I wasn’t too happy with the log pile but it’s staying there now, also the white path is far too white. I think I was planning to do some extra bits to it but for the life of me I can’t remember what so I’ve decided it’s finished. I’ve started working on three other pieces, so expect an update around 2020.

Friday, 26 June 2015

Catching up

I AM NOT DEAD.

Parenting and business owning have been taking priority over painting and modelling. Which is as it should be but doesn't make for getting stuff done.

I have been fitting in a few minutes here and there to work on bits and pieces but it probably doesn't add up to much more than 2-3 hours a month at the moment, very frustrating when I can see things sitting unfinished in the corner but such is the way of adulthood.

On the occasions I have managed to find time to do anything I have really appreciated the calming effect it has, I can see why I spent so much time as a teenager (badly) painting my now lost fantasy armies, it takes me complete focus and allows me to block out the horrors of modern existence for a while and building models of buildings and scenery from scratch gives real feeling of accomplishment (regardless of the quality of the final piece).

Anyhow, here's a selection of the bits and pieces I have painted since I took the practice up again (I think it was a year or so back, possibly longer).

Some bits and pieces from Castle Ravenloft
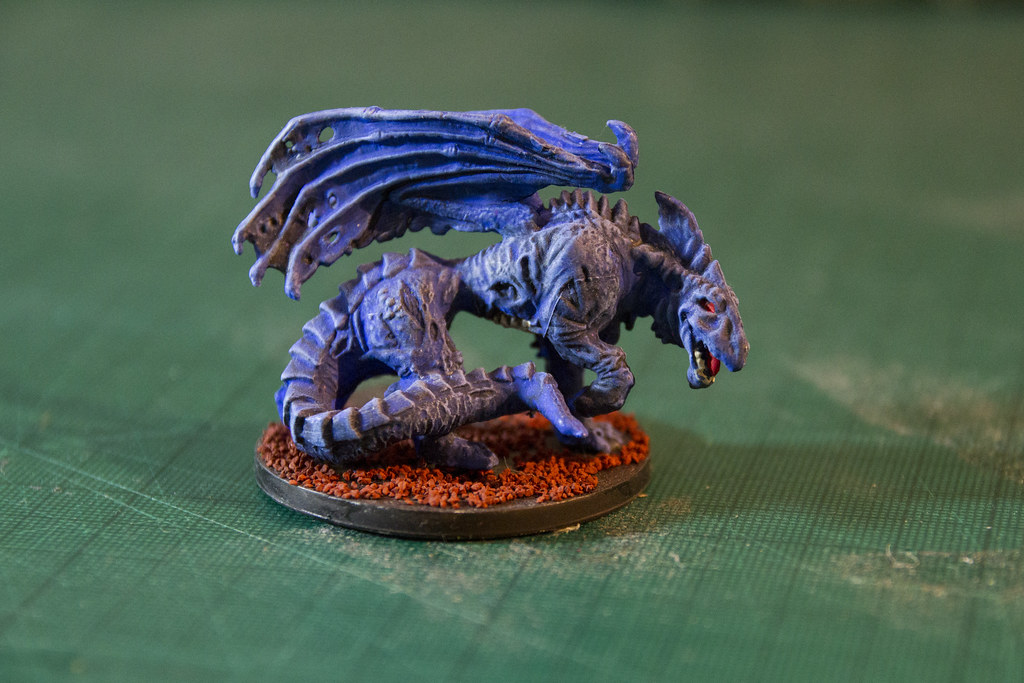
IMG_2623Zombie Dragon - the base needs a revisit
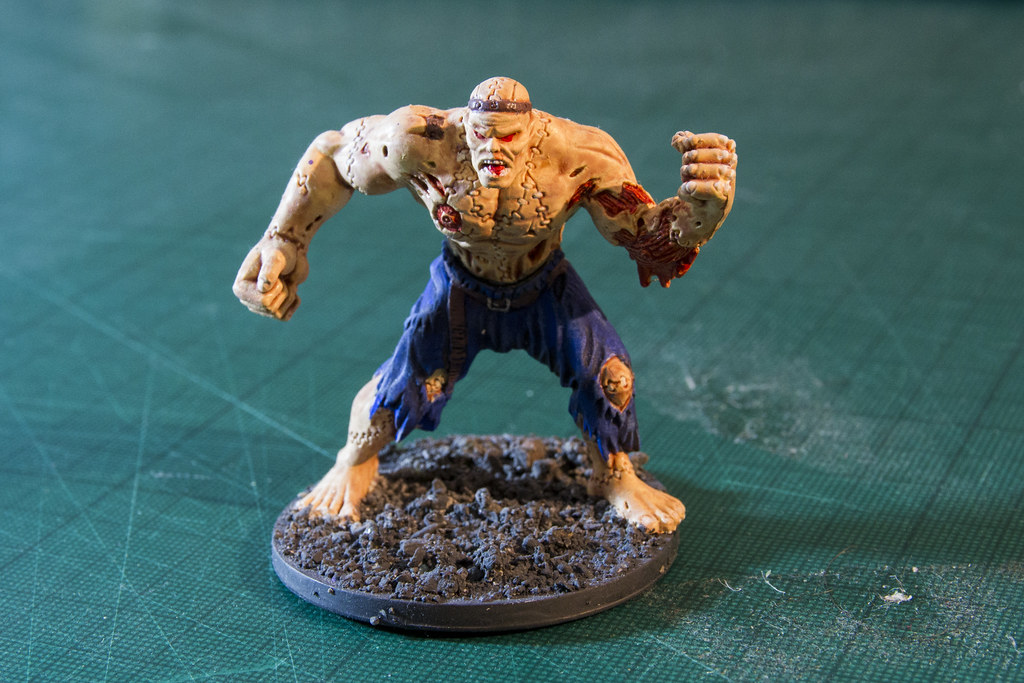
IMG_2631Zombie Ogre

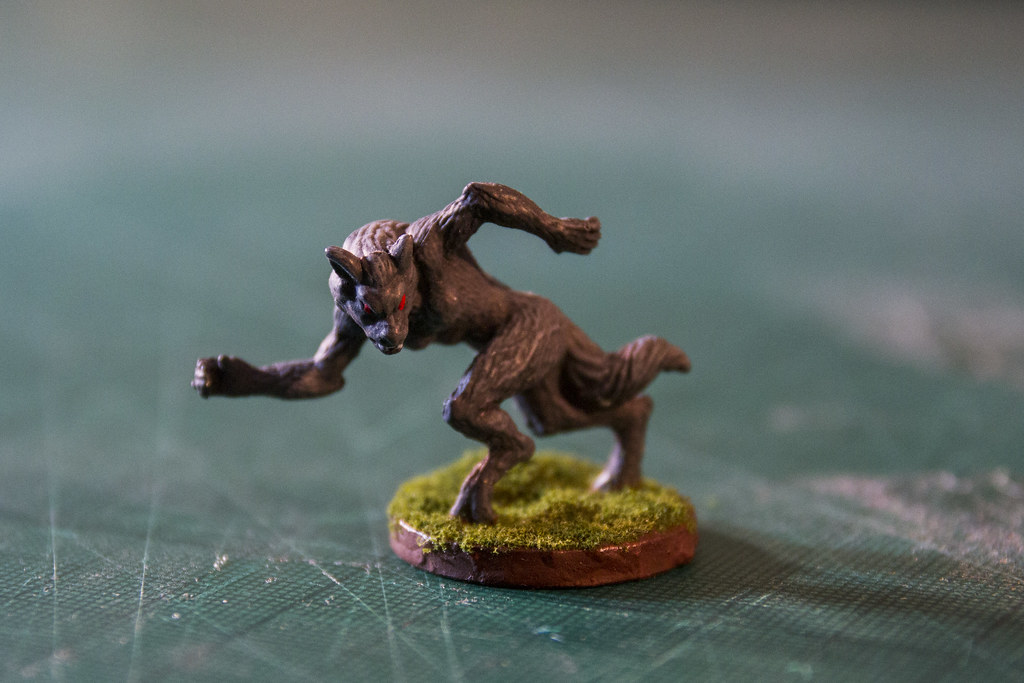
IMG_2635Werewolf

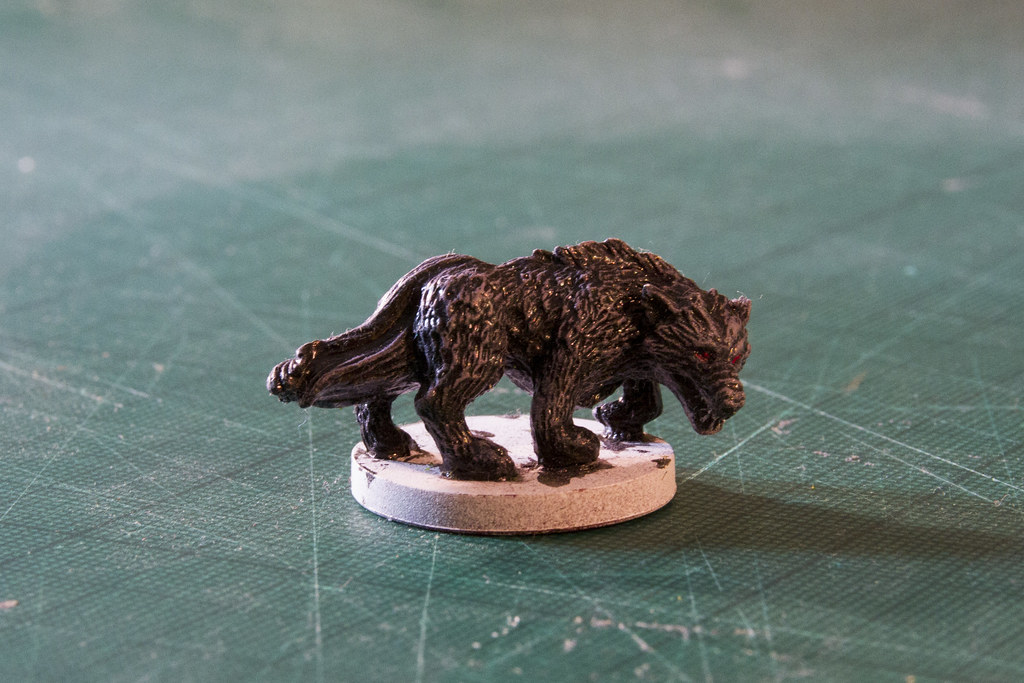
IMG_2639Wolf

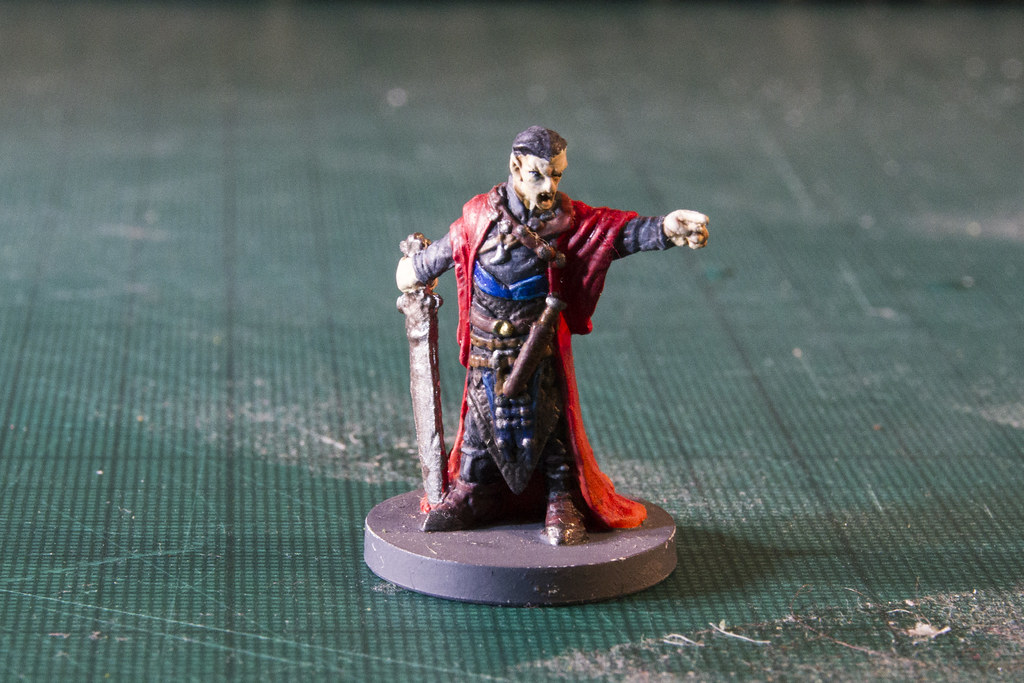
IMG_2654Vampire bastardhead

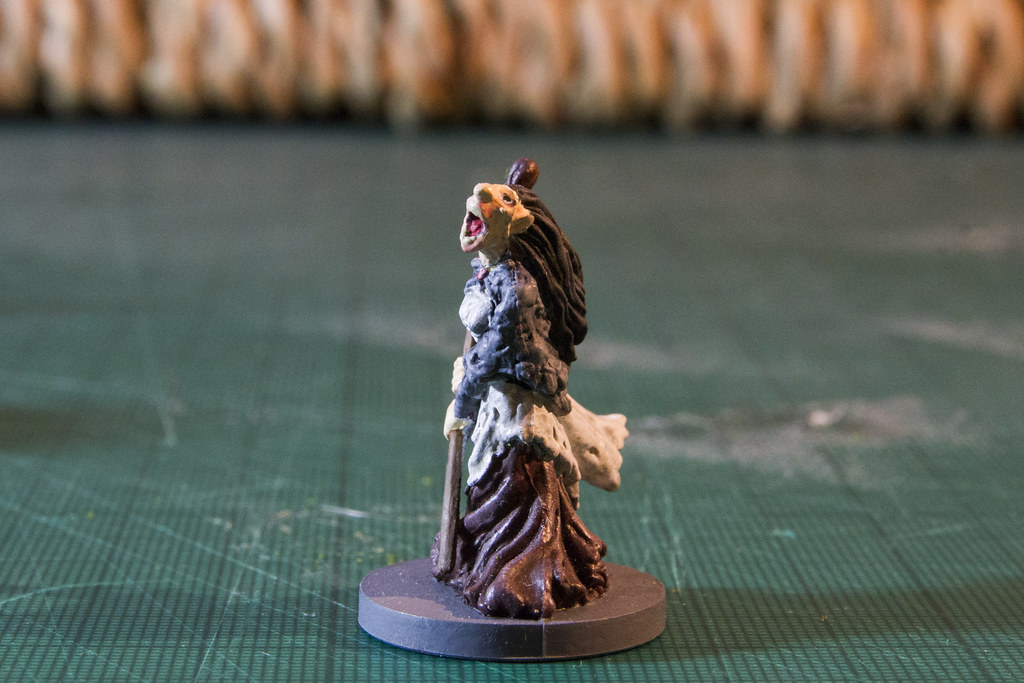
D&D WitchWitch

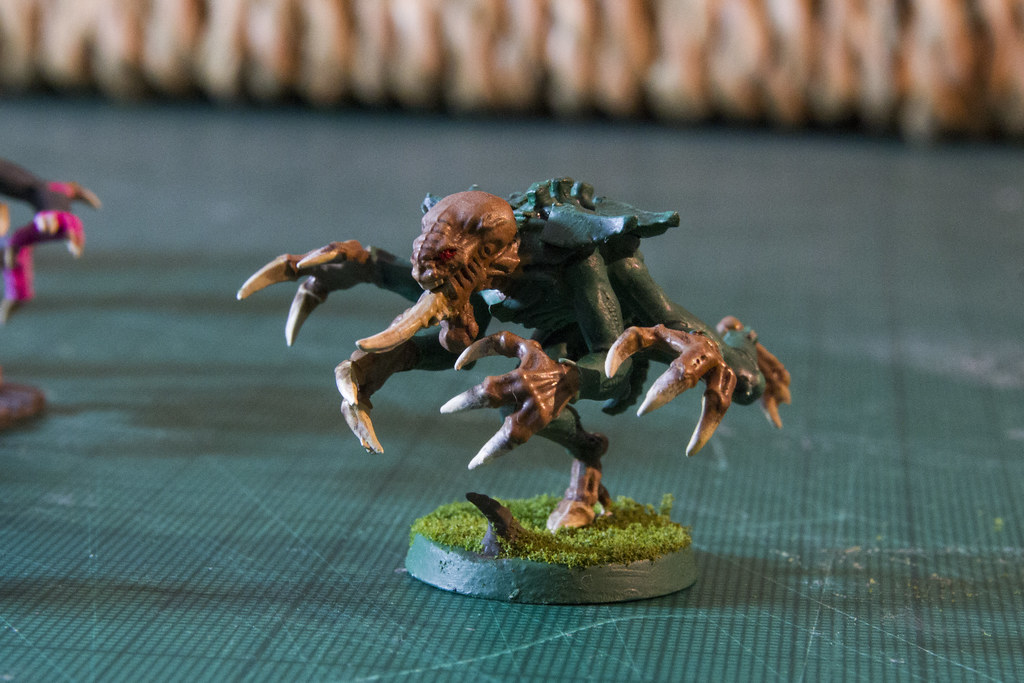
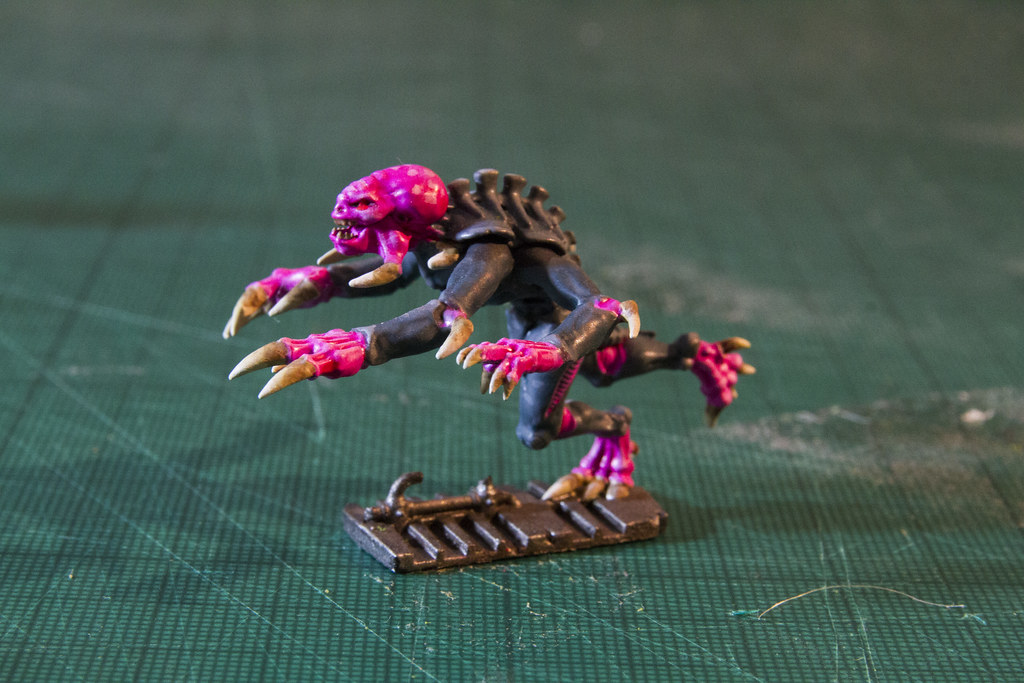
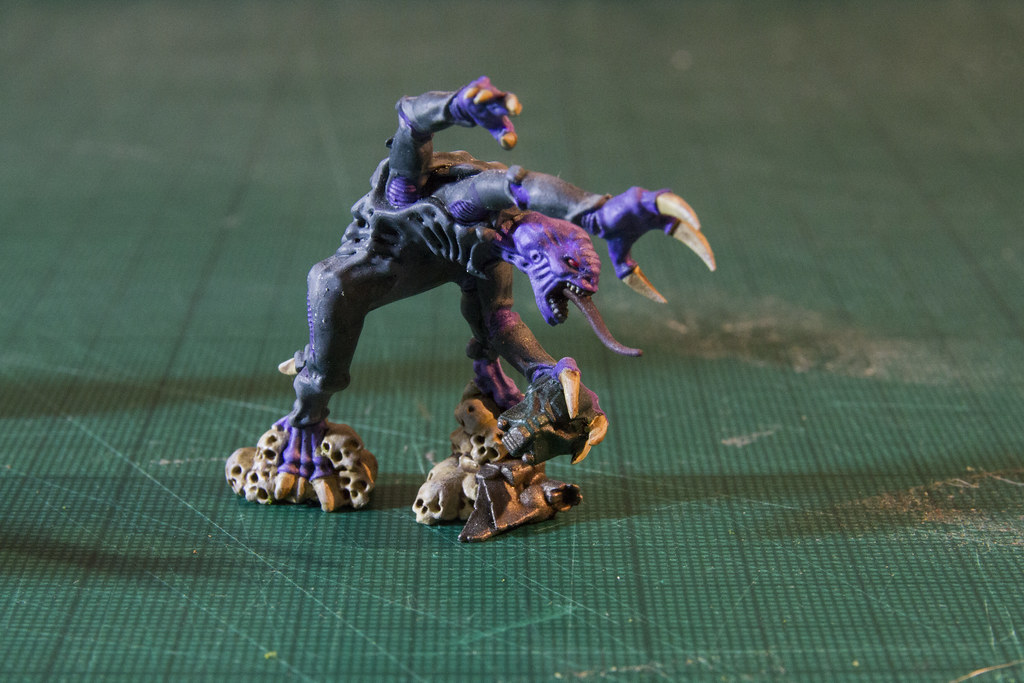
I've been collecting Genestealers and trying out different variations of colour schemes:

IMG_2685Forest Genestealer

IMG_2674Unpleasantly pink Genestealer

IMG_2667Slightly more traditional Genestealer

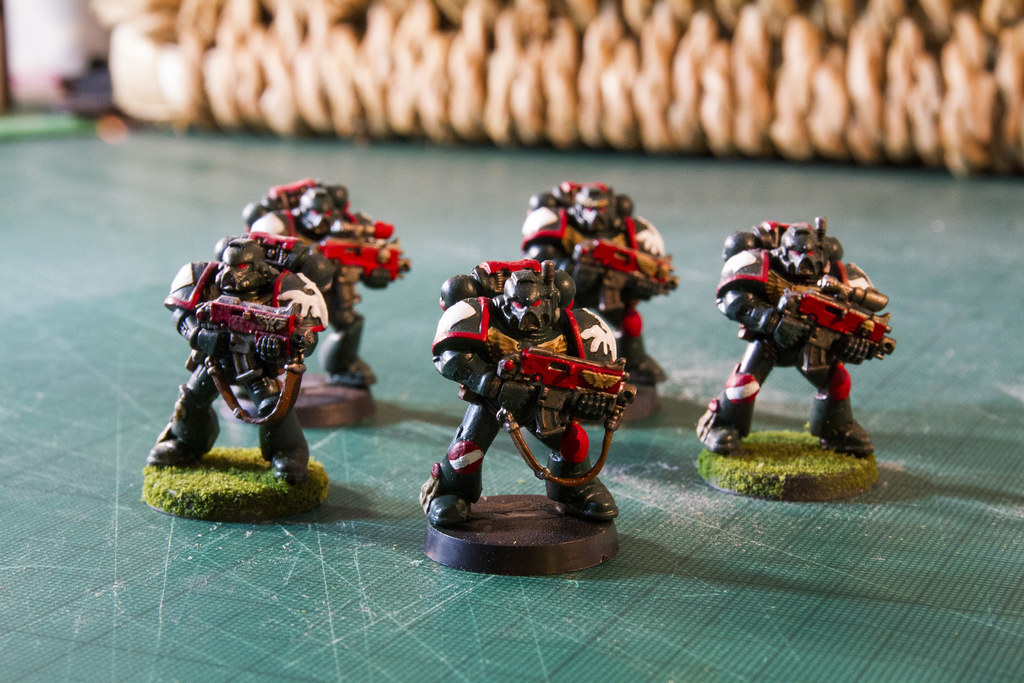
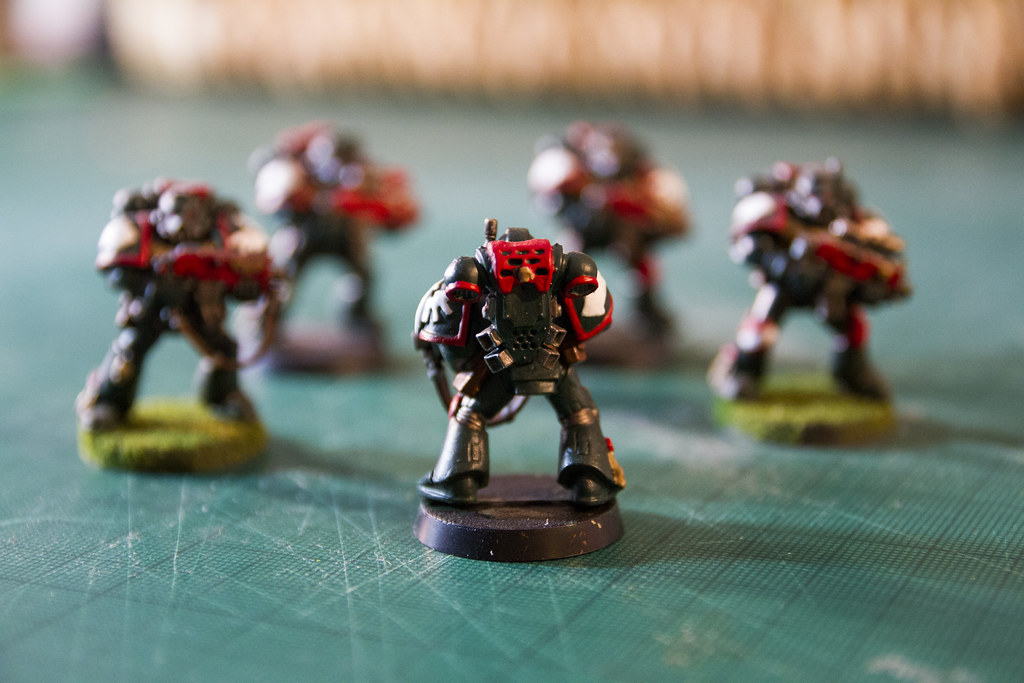
Karen bought me a started set of Space Marines with paints, it took me the best part of a year to get through them:

IMG_2646

IMG_2644

Some assorted bits:

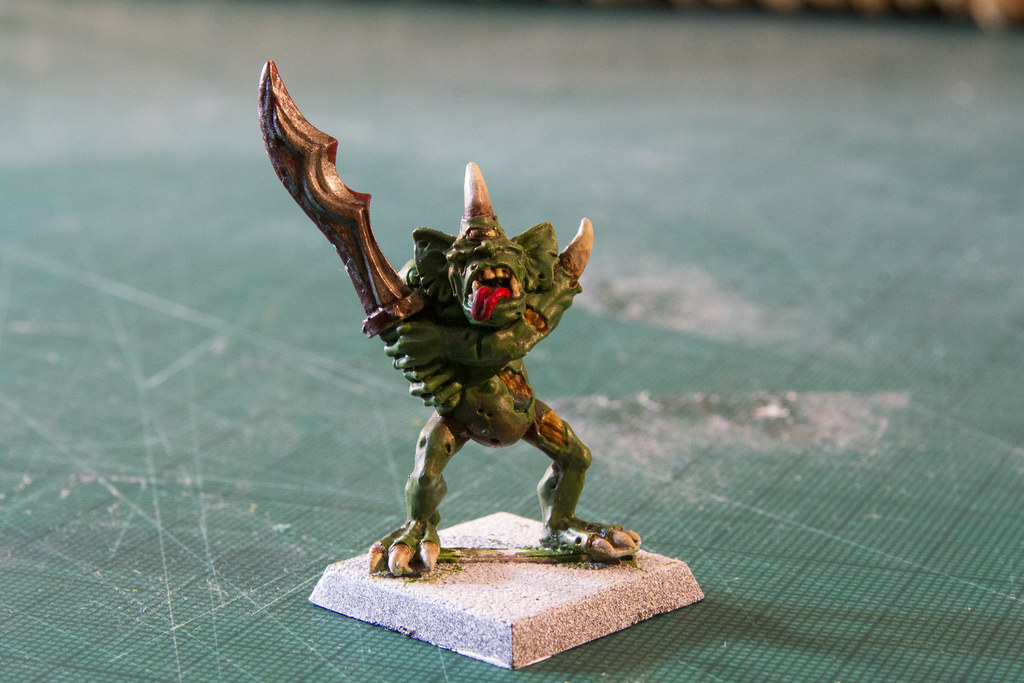
IMG_2648Lesser Daemon of Nurgle

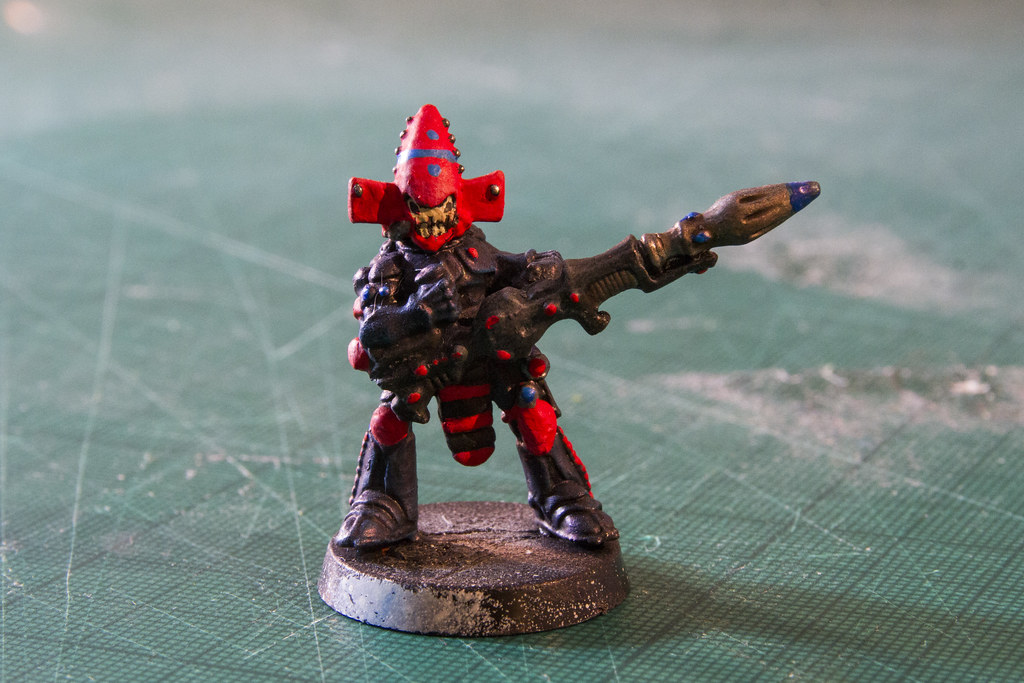
IMG_2652Eldar Dark Reaper with AWFUL face

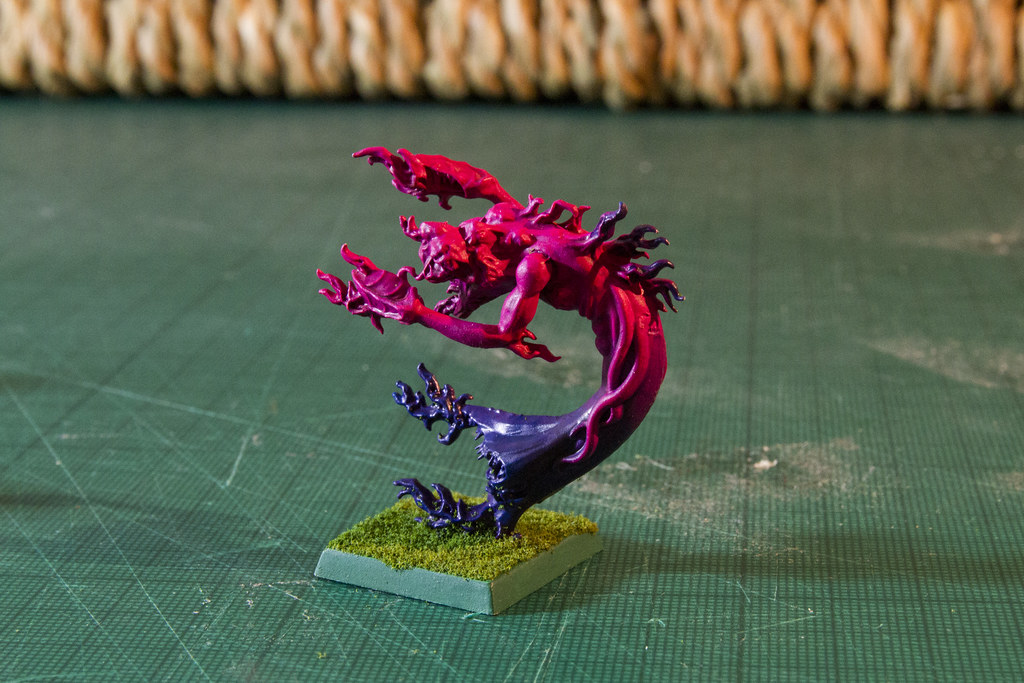
IMG_2660Tzeentch Flamer

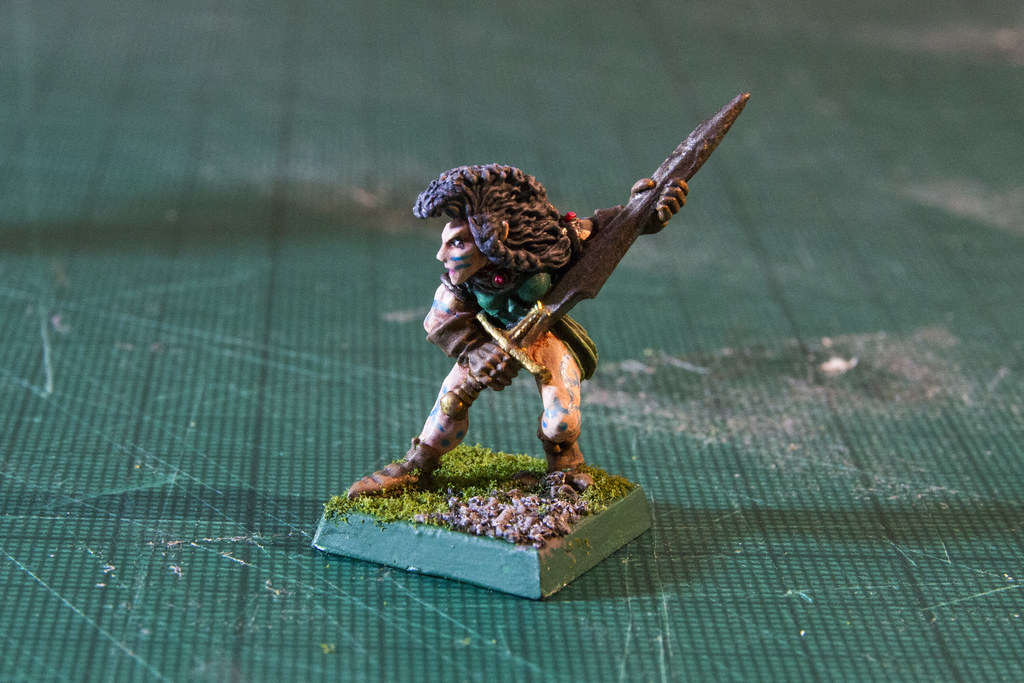
IMG_2662Wood Elf Wardancer


There's a few more and some different views in this Flickr album.

Toodle pip for now!

Tuesday, 17 February 2015

ebay Shall Provide

In between trying (failing) to find time to do some painting I may have got a little trigger happy on ebay.


Tuesday, 27 January 2015

Is that a paintbrush in your pocket or... oh, it is.

Hello,

After not touching a miniature or a board game for about 20 years I was given two Munnys (by my brother and Paul), while this was awesome I was struck with terror about arsing them up so wanted to try painting something else first. I dug around the attic and found a box of old Warhammer miniatures. I THEN decided that I didn't want to risk ruining my old miniature and so bought some new ones and now I'm trapped.

I recently asked Paul for some advice on painting and he agreed but hassled me to set up a blog about it to track my progress because he is evil. So here it is.

I don't have a huge amount of time to paint these days between being a parent and running a company it generally takes me a few weeks of finding five minute bits of time to finish a figure and so it's been slow progress but it's incredibly relaxing and I feel I am (very slowly) improving.

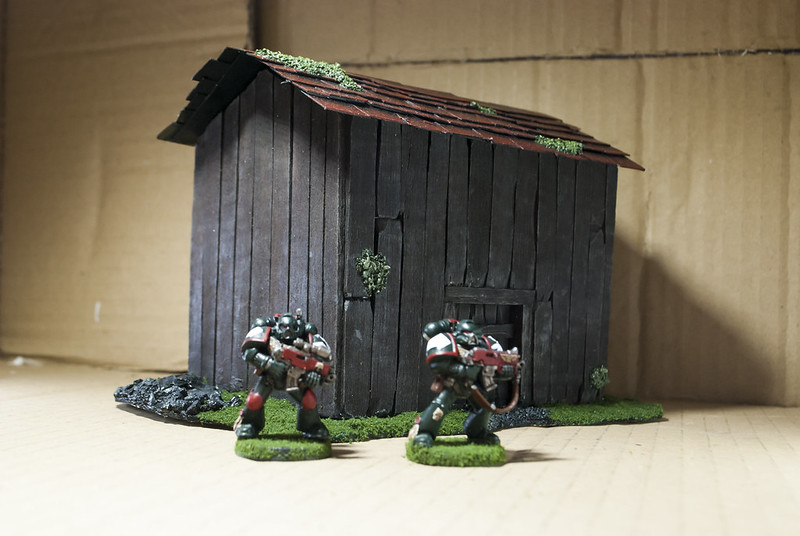
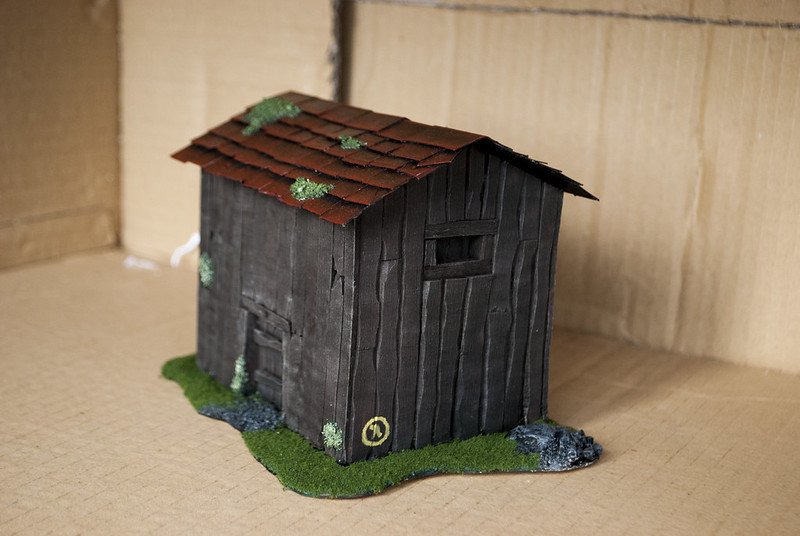
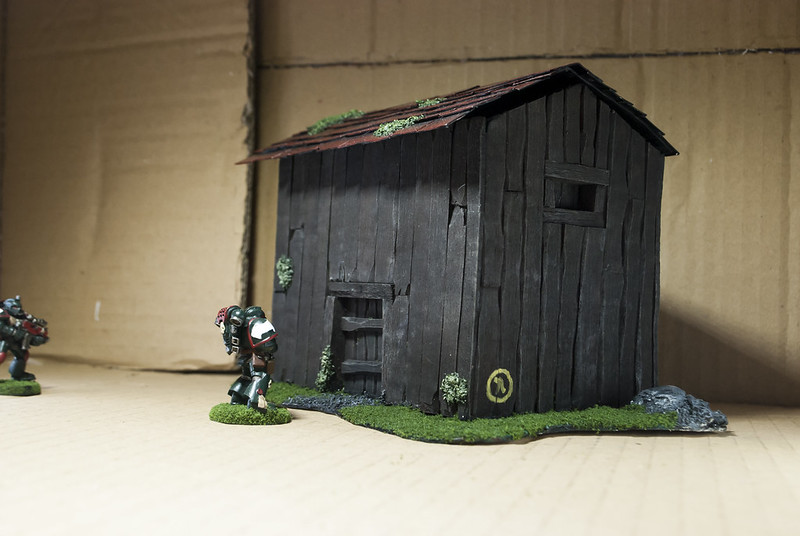
I've not managed to photograph any of my recent attempts yet but here's some pictures of a barn I made last year (Full blog on this here).

DSC_0830

DSC_0806

DSC_0832


I'll dig out the camera at the weekend and get some pictures of recent attempts.