I may have to take a break from scenery building for a while for a couple of reasons. Firstly because I'd like to actually paint some miniatures and the scenery building takes all the time, secondly we are short of space and scenery takes up loads.
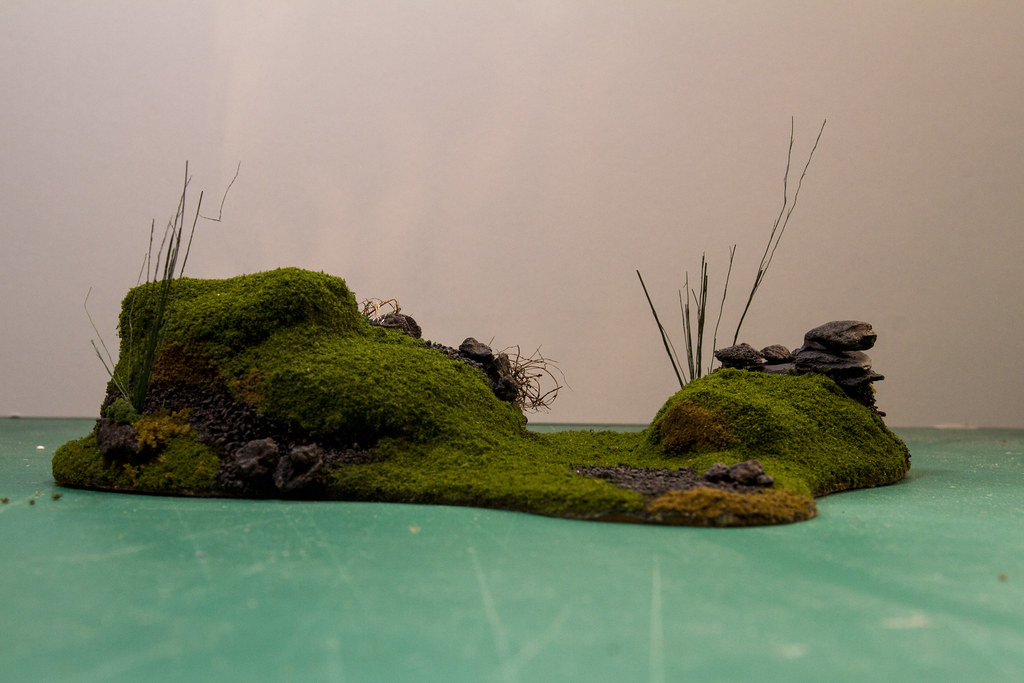
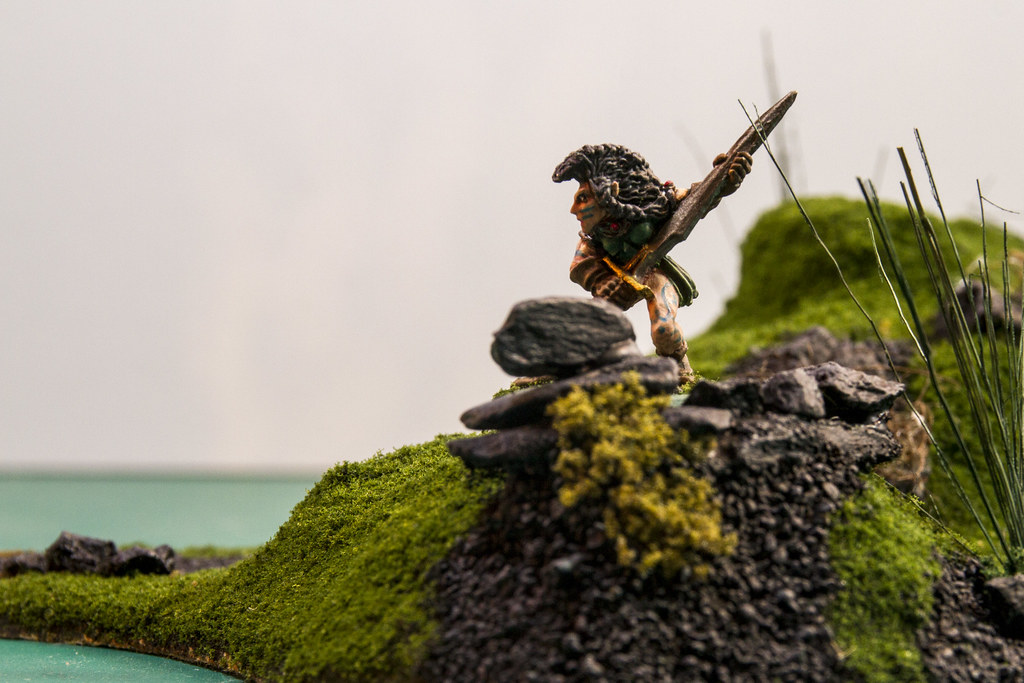
First. The hill. A classic requirement of most fantasy battle. I found a nice online tutorial, which annoyingly no longer appears to be online (I can' find it anyway), which differed a bit from the traditional stepped designs aiming for something a little more realistic. Unfortunately (ignoring advice in the article) I once again failed to plan ahead properly and although the final result looks ok it's a bit awkward to actually use, there's no real surfaces on it that troops can stand on. It's ok for character models and acceptable for 40K but otherwise it just acts as cover.
I pretty much made it up as I went along (again) which is something I will not be repeating.
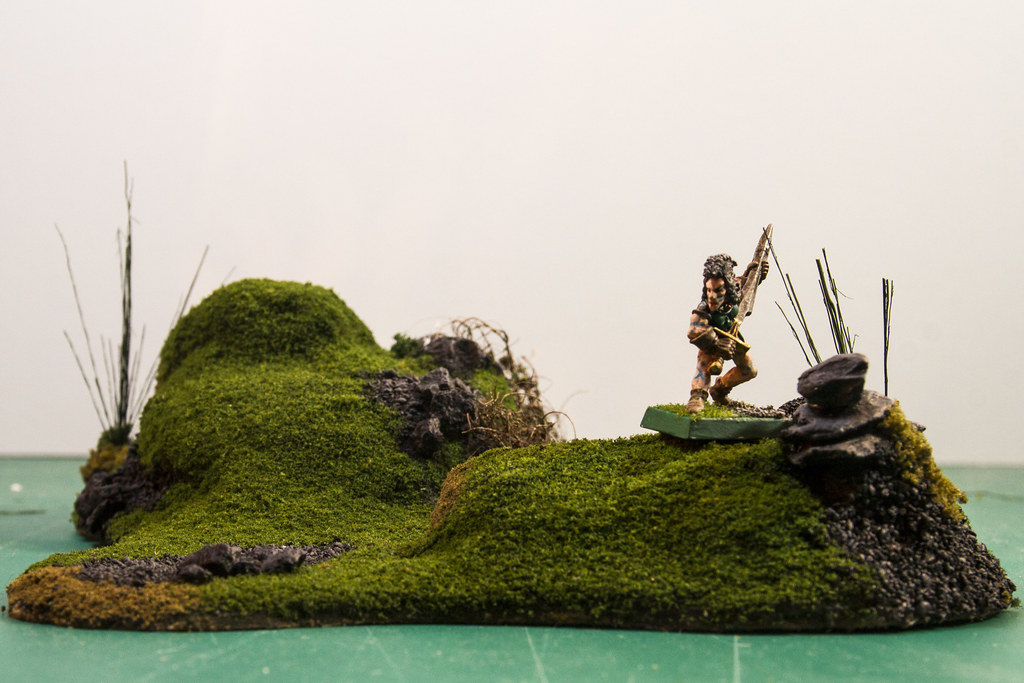
I did remember to give it a proper MDF base this time so it didn't warp horribly when I glued stuff to it. The hill itself is made of random offcuts of polystyrene, bits of left over DAS clay and mostly shaped modelling styrofoam. The styrofoam is really nice to work with, I paid just over a tenner for a huge sheet of it which will last me years.
The basic shape was liberally coated with Polyfilla then left to dry for a century (it was quite thick). The rocky outcrops and path (not so visible as I forgot to take a photo from above) are made of a handful of bits of slate from a massive sack I bought in a garden centre last year and some sand stolen from my child's sandpit.
The whole thing was undercoated with Chaos Black primer (the polyfilla protected the styrofoam from being melted). I had a bit of a nightmare working out what order to do stuff in, unfortunately I've now forgotten what order I did stuff in! I have now purchased a notebook specifically to keep notes on what order I do things in, I may remember to use it.
I wanted to try out Scenic Cement on the flock. I'd been a bit wary as it seemed a lot of cash for what I guessed was just watered down PVA but it's really good stuff, it's far stickier than watered down PVA and dries pretty quickly. I used a coat of Scenic Cement followed by flock. When that had dried I applied scenic cement again and flock again, then when that had dried the cement again as a fixative which worked pretty well. I did get the special sprayer to go with the cement which works ok but after a few uses it started to dribble and give an inconsistent spray, this may have been down to my cleaning technique being a bit arse. I found some cheap perfume atomizers in a local hardware store which worked just as well (and were far cheaper), although how long they will last is another issue.
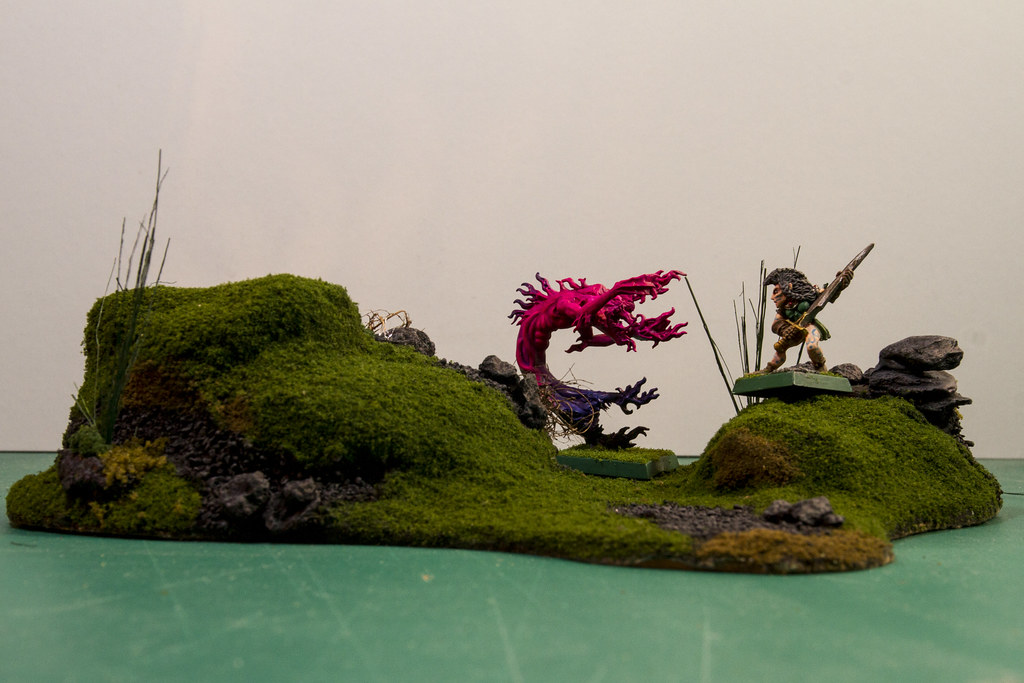
The long reeds (which look a bit tatty now) are Skale Scenics Grass, previously I was using the bristles off a cheap decorating brush, this is basically exactly the same thing but cheaper and you don't have to hack paintbrushes to pieces to achieve the effect. They were a pain to attach and I tried a few methods, in the end I found Pritt Stick Clear All purpose adhesive to be AMAZING, it's quite thick and although it takes a while to dry it affixes really well. Annoyingly I can't find it online and cannot remember where I bought it from.
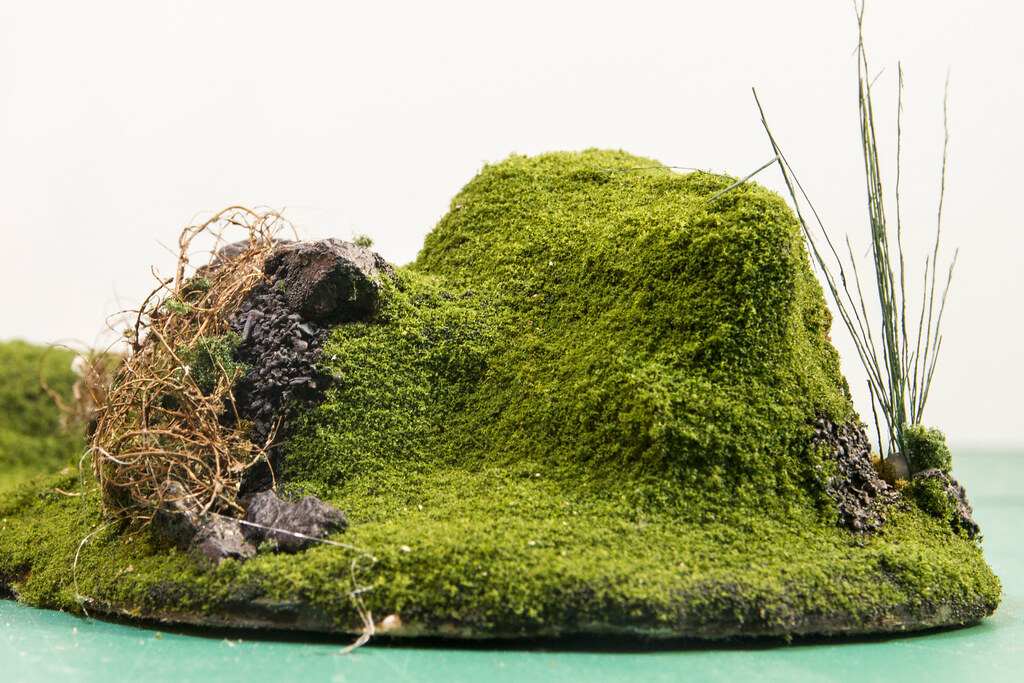
I wanted to create some scrubby winter shrubs around the rocky parts so tried out rubberised horsehair, again I paid a couple of quid for a massive bag which is going to last me an age. I really struggled with it at first and didn't really get the hang of it for this piece (it worked better on a later piece), it needs a bit of treatment before it can be used, aside from anything else it turned up a really garish almost fluorescent green. I really struggled with getting scatter materials to affix to it (which again I managed better on a later piece) and eventually gave up, it looks ok. I also applied a few light patches of Woodland Scenics ground cover which I could have colour matched a bit better.
I was planning on putting a lot more detail in but decided against as had already spent far too long on it and just wanted to get it done in the end and move onto the next piece which will be along soon...
Flickr set for model making here.
No comments:
Post a Comment